Hey all! It has been way too long since I posted here. I got into my new house a while back and haven't had the time or space to do much of anything since then. I did decide to try something pretty fun last night, so I thought I'd do a writeup for you all.
Start with a tin. This one is 3" in diameter and maybe 1.25-1.5" tall. The size honestly doesn't make much of a difference. The box of Spree in the background is optional.
Get a piece of cardboard. This is just an example, as the piece I ended up using was something like 7 feet long. Try to get it cut at an even width all the way along the length. Making a mark or something would be much easier. If you don't do this now, you'll have to do it later and that's a big pain. I'd make it so that the edge of the cardboard sits maybe 1/8" below the rim of the tin if I had it to do over again.
Tear off one side of the cardboard. What this does is to give you a piece of paper with the corrugations attached. When you roll it up, you'll have little pockets between the layers, which will hold the wax, sort of like a honeycomb. I don't know for sure that leaving the side on there would ruin the stove, but I didn't want to experiment with this one.
There you go. Roll it up and stuff it in there. You want it to be snug, but you don't want to ruin your structure to fit it inside.
Melt your paraffin wax on your stove. I have a dedicated pot I got from Ross for $3 and it works well for me.
I put foil over a cookie sheet to use as a pouring platform.
I also have a muffin tin for the extra wax. Thankfully, the previous owners of our house left some nasty old muffin tins in the base of the stove they had torn the door off of and left for us. So now they're my craft tins.
Pour the wax into the tin. I didn't have it all melted first, but that's fine. It will go in and fill up the tin pretty well, and it will soak into the cardboard. You may have to go back in a bit and fill it up the rest of the way. Just try to make sure you have the surface of the cardboard all pretty well covered. You'll have to burn some of it off, but you don't want to have just bare cardboard on here or it'll burn right off and give you gaps in the surface.
There's the tin all full of wax, and the rest goes into the muffin pan now.
I got about 5 of the cups full with the wax. These serve as reloads for the stove. Once you get a good solid flame going on top of the stove (ideally, the flame should be coming from the whole surface), you can drop one of these on top and let the heat melt the wax down into the cardboard again. You could also melt it and pour it in manually, but that's a bit lame when you have the self-reloading option.
I've got video of the first burn tests, but I haven't edited them yet so this pic is a placeholder. Here's what I learned: This thing works like a candle. You need to burn the wax off of the wick first in order to get something to catch. When your wick is a 3" diameter piece of cardboard, that's kinda tough. I did eventually get it to start by shoving some matchsticks down into the cardboard and letting them burn down. After it cooled from this, I went back and tried it with just a regular lighter and it lit up much faster and more evenly. I think getting a good solid burn on it is just a matter of getting a tiny bit of wick exposed over the whole surface. You'll see the flames on the video. It's really pretty impressive.
(Watch on youtube here: Paraffin Stove)
So there you go. It took a very short time to complete and cost me a total of maybe $2.50 if you're extremely generous on the price of the wax. You can also use found tins for this. If you use pomade or margarita salt or something that comes in a tin like this, those would work just fine. You can also use an old tuna can or a soup can or something if you want to. I like the tin because it's sort of self-contained and has a lid. Please let me know if you have any questions on how to make one of these or really anything else you want to know on the subject. I'm not an expert, but I'll do my best. Thanks for reading!
An extended treatise on the art and science of making geeky things out of raw materials, found items, and anything else we can get our hands on.
Monday, October 25, 2010
Thursday, August 5, 2010
Slight Change in Design
We were working on the project some more, and came up with a different idea for how to do it. So here's the updated design:
The lid is also made of slats now, but the bottom is still solid. The bottom row of slats also goes around the outside instead of sitting on top of the bottom. This is so we can use a piece of plywood for the bottom without having to buy edge-banding for it. Smart, huh?
The box as it will look closed. I think the slats on the top really make it look more consistent.
Here it is with a fake wood pattern on it. We're making this out of red oak, as I think I mentioned, and it will have a lovely, dark finish. We're going to put a fair amount of polyurethane on here too, to protect it from the elements, and I'm thinking a satin finish will look best. The bike is shiny, but super-shiny wood always looks a little weird to me for some reason.
I changed the inside of the lid, too. I think the two pieces resting on the inner supports will be plenty, and again, it just looks more like a crate this way.
We still haven't gotten past the planning and purchasing phase, but I hope this weekend will change all that. Thanks for reading!
Monday, August 2, 2010
Bicycle Basket
My lovely wife has a great bike that she really loves, an Electra Amsterdam Classic named Charlotte.
The bike is beautiful, and it would be perfect for riding to the park for a picnic or something. We just need a means to carry picnic to the park.
The baskets we've found are always really expensive, though. Solution: Build our own. Here's the idea:
This is the body of the basket. It's more of a crate, actually. The outside pieces are 1.5" x .25" slats in red oak. The inside supports are red oak 1x2s (actually 1.5" x .75"). The bottom will be either a piece of red oak plywood or a solid piece of red oak if we can find it.
We have plans for a lid, as well. It could open this way...
But I think we like this better. We'll probably end up adding some extra features, like some leather straps to hold it closed. The inner frame you see attached to the lid will fit inside the outer slats and keep the lid from moving around too much. We don't want it to scratch up the bike at all (my wife seriously loves this bike and is very protective of her), so we're going to mount the box to the rack with some hardware backed with leather to protect the finish.
We're hoping this works out pretty well and costs less than the pre-made baskets do. We need to make sure we can get everything within our budget before we get started so we can take back the pieces we bought last night if it turns out it's going to cost too much. So far it's just a plan, but I think we'll get started with it pretty quickly. The project itself isn't too tough, so we should be able to finish it in a few days of working. I'll post updates as we make progress.
Friday, February 12, 2010
Candle!
Okay, I finally got everything done and poured myself a candle. I even took pictures. I took way too many pictures, actually. Here they are:
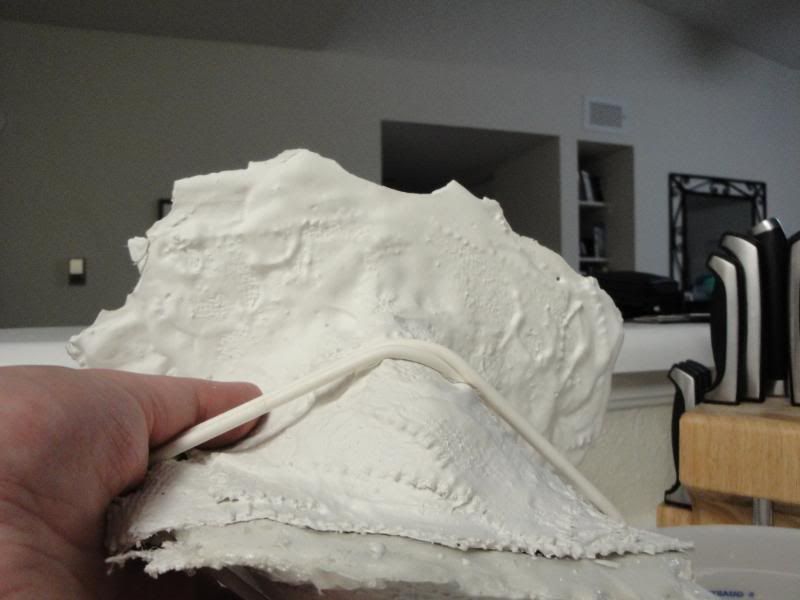
This is the white silicone mold on top of the plaster jackets. Since everything (including my kitchen) is white, it's tough to see. Not all that important.
This is the white silicone mold on top of the plaster jackets. Since everything (including my kitchen) is white, it's tough to see. Not all that important.
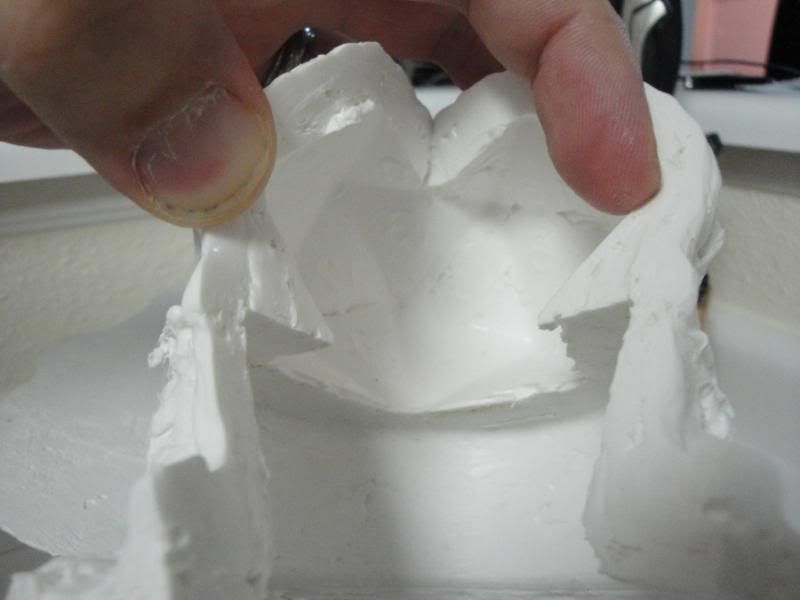
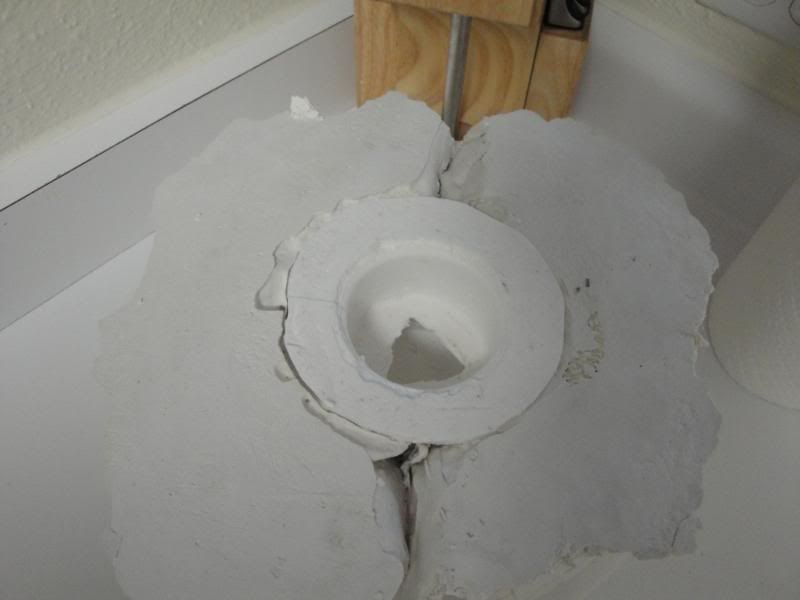
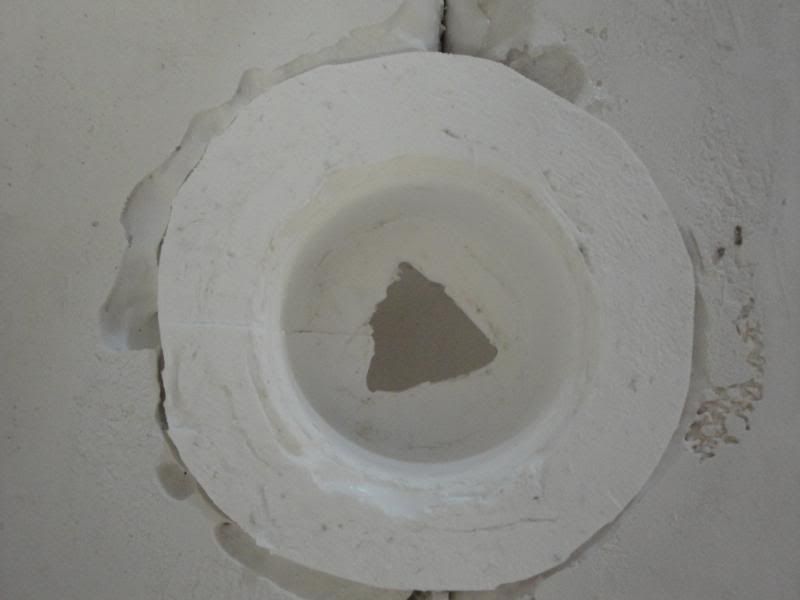
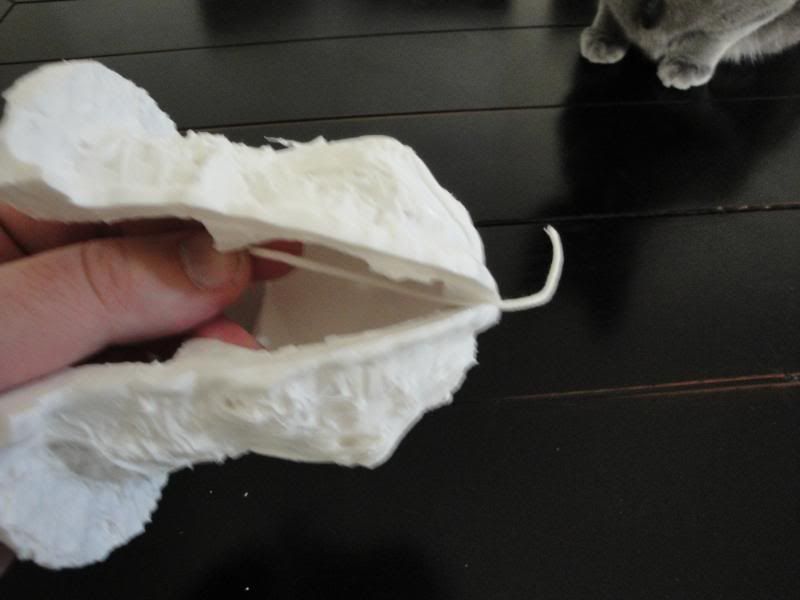
Here's the inside of the mold. You can see how it's a little rough.
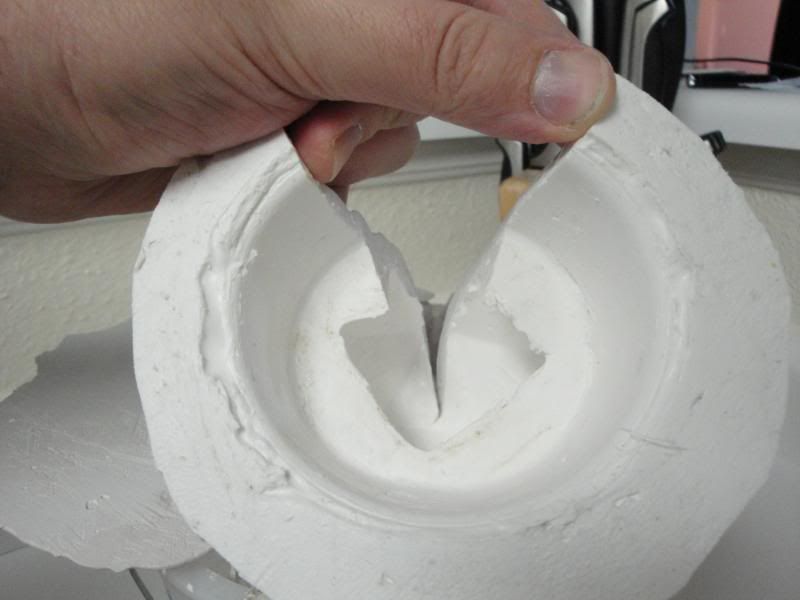
Better picture of the cut seam. Goes all the way to the top to allow for the wick.
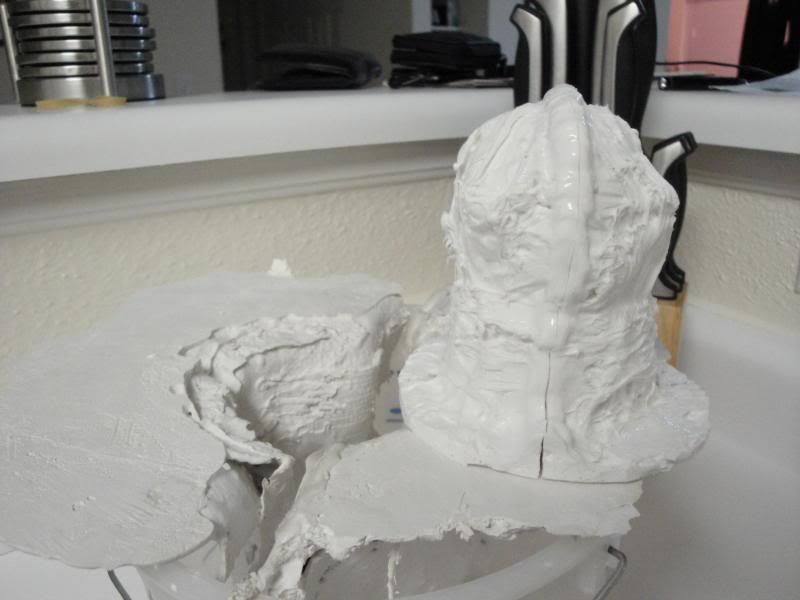
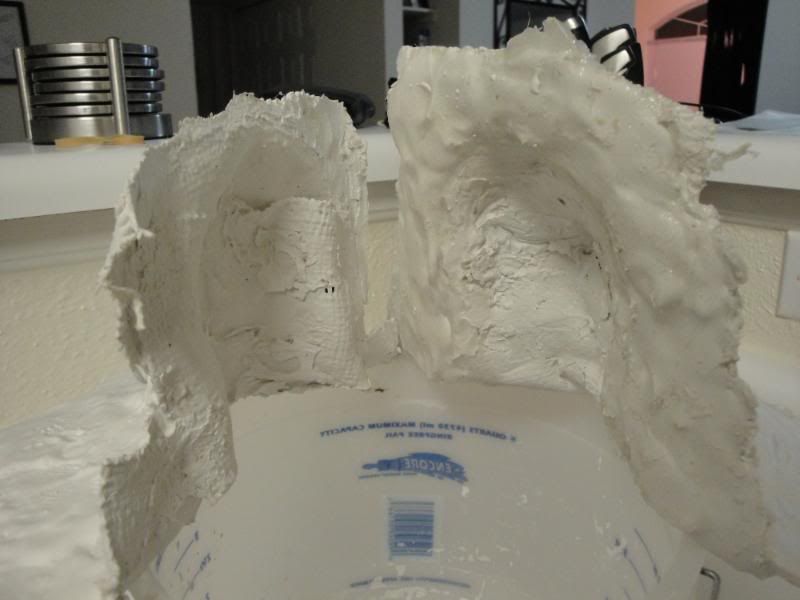
Here is the plaster mother mold on top of the bucket. These two clamp around the silicone mold and then get set inside the bucket to hold them upright.
The silicone mold inside the plaster. The fit isn't exact by a long shot. Next time, I think I'll do a layer of just plaster first and then reinforce with bandages. I think a tighter fit would work better and help keep the whole thing more aligned.
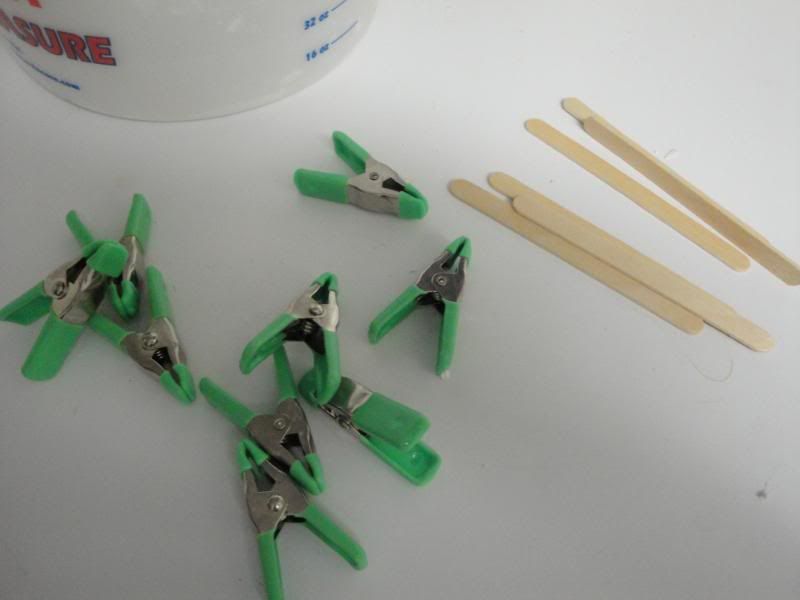
Here's the giant rubber band I used to keep this mess together. Later, I added some little green clamps. Note to self: Build this in such a way that clamps are easy to apply and have a place to sit. The rubber band is a pain.
Here's the whole shebang all put together.
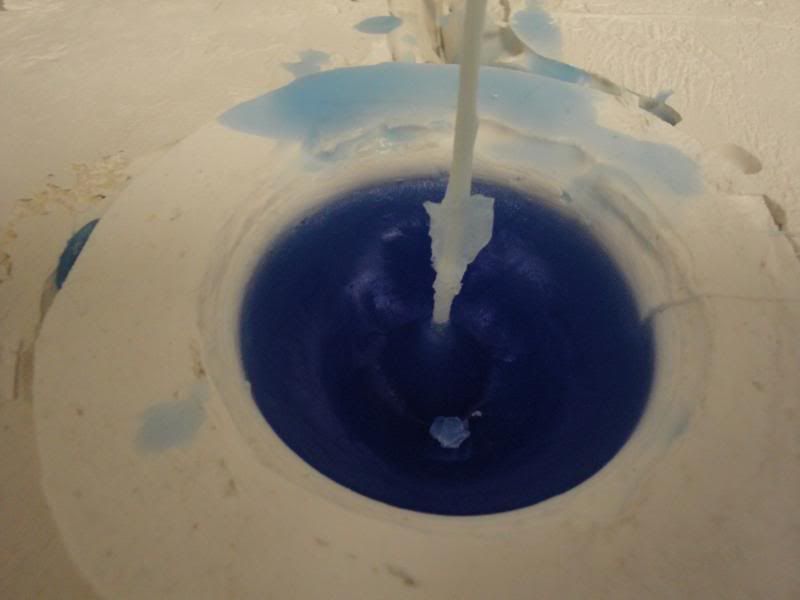
You can see all the way down. Still no wick in here, though.
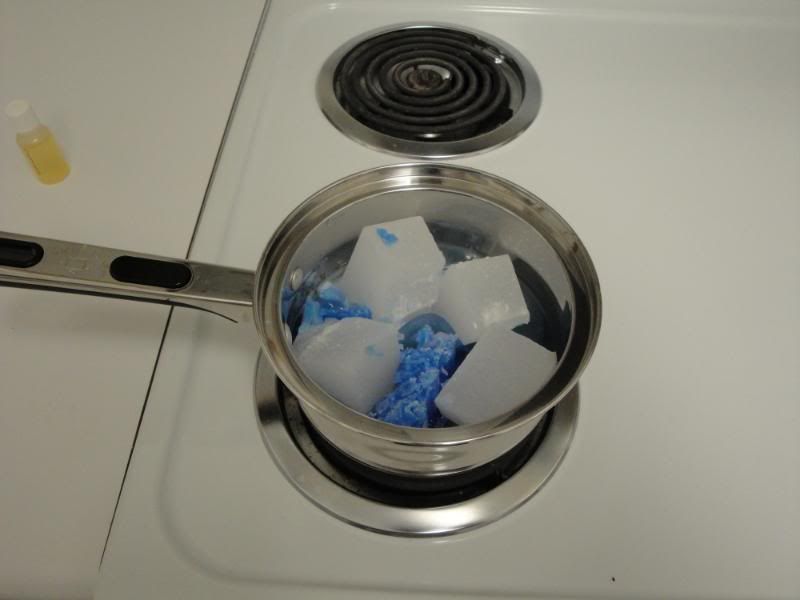
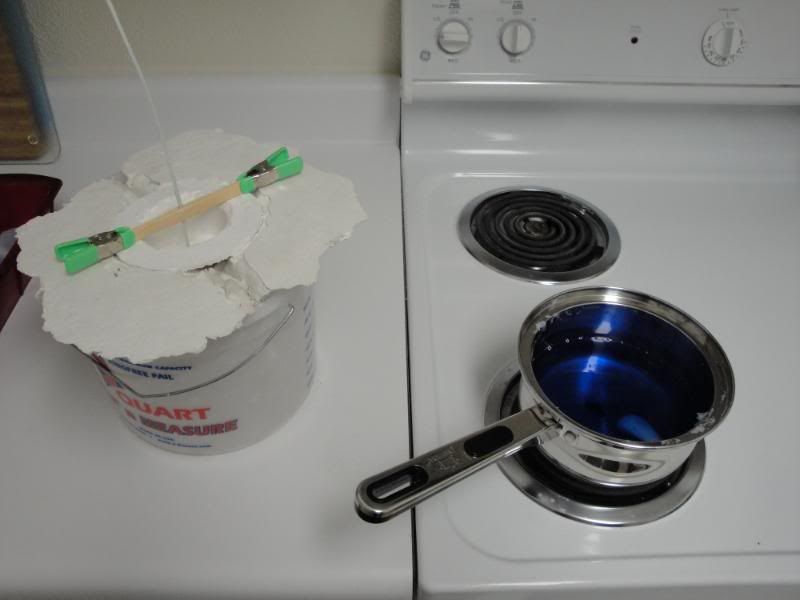
Here's the wax melting. The blue is from a previous attempt that failed. I'm still making a blue candle so I figured I'd use this stuff up.
Here are my little green clamps and some popsicle sticks. These are both so useful I don't think any crafter should be without them.
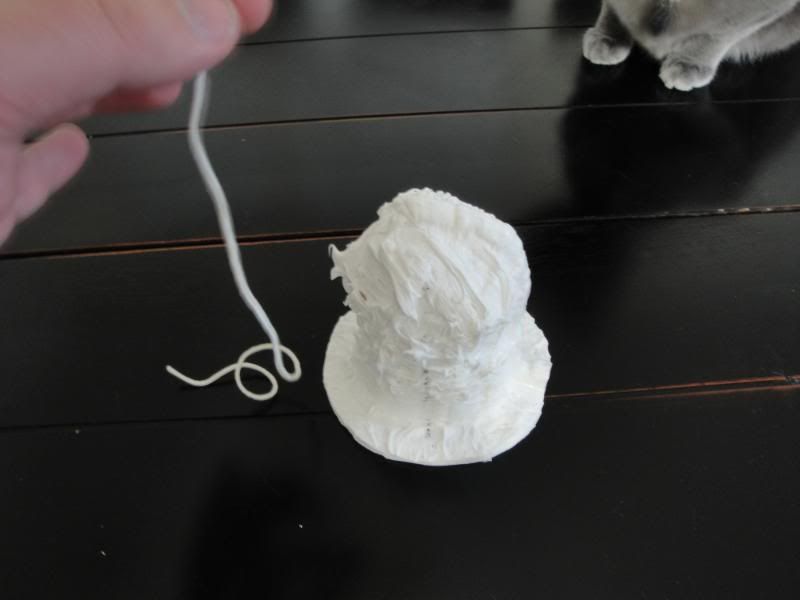
Here's the wick. Still just a string right now. Note how freakin' long it is. I probably made it longer than it needed to be, but better too long than too short.
Tuck the wick right into the slit at the top of the mold. The mold will hold it in place.
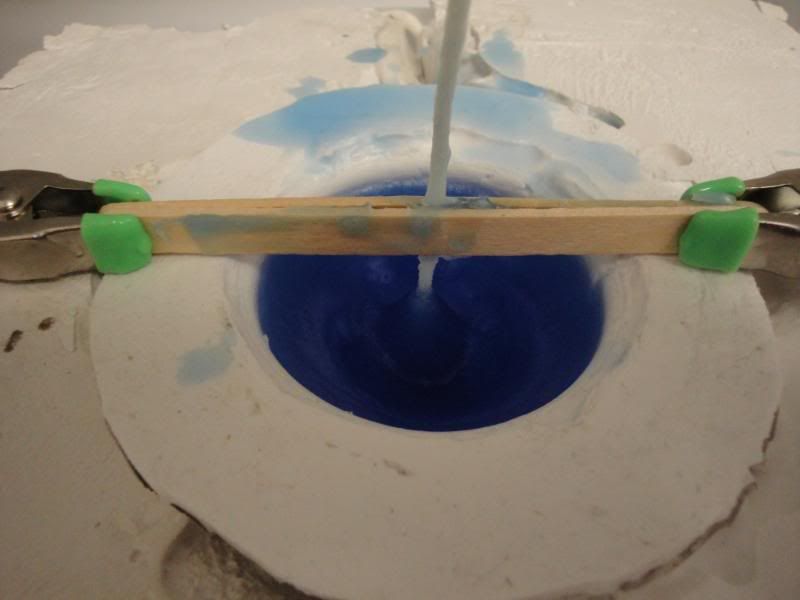
Use your clamps and popsicle sticks to hold the wick upright.
Maneuver as necessary to ensure that the wick goes straight through the center of your candle.
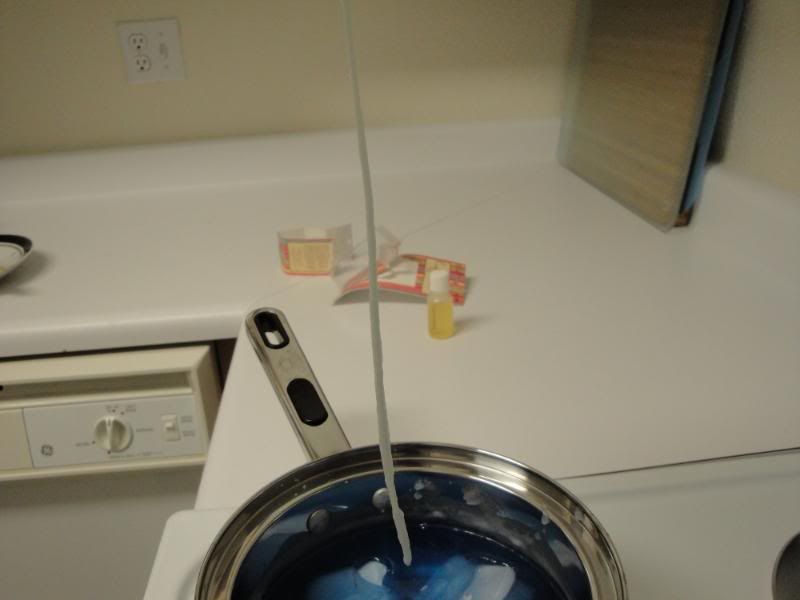
Priming the wick. This is important. You dip the wick into your wax and then straighten it out so it dries straight and even. This will help you with getting a good burn and also with keeping it straight through the middle of the candle.
Here's the primed wick centered in the candle.
Wax almost all melted. I added more blue and some cinnamon scent. I didn't add enough scent, though. You can sort of smell it if you stick the candle in your nose and inhale.
If you want to keep this cleaner, you can put down some newspaper between the pot and the mold. Just don't set your newspaper on fire or anything.
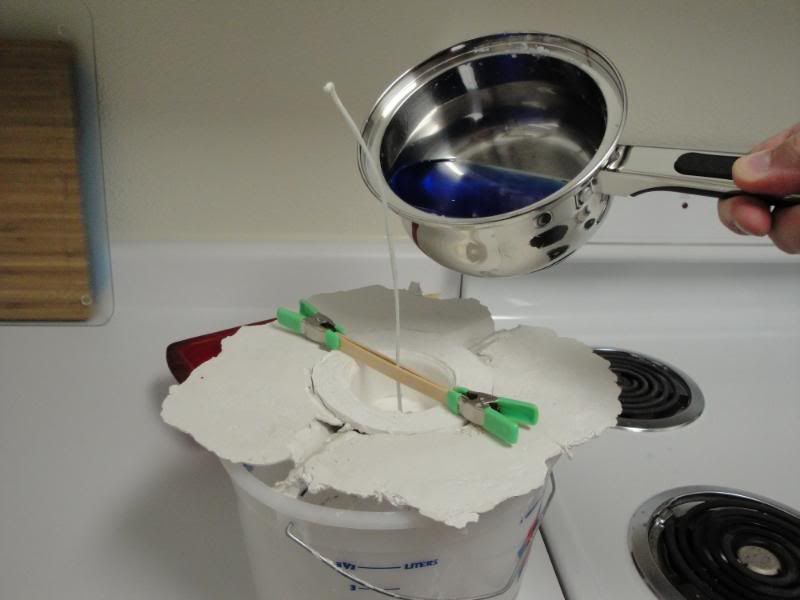
The pour. Slow and steady. I had to go really slow and pause a lot because the wax wanted to run out of the bottom through the gap where the wick was. That's something I need to figure out for future projects.
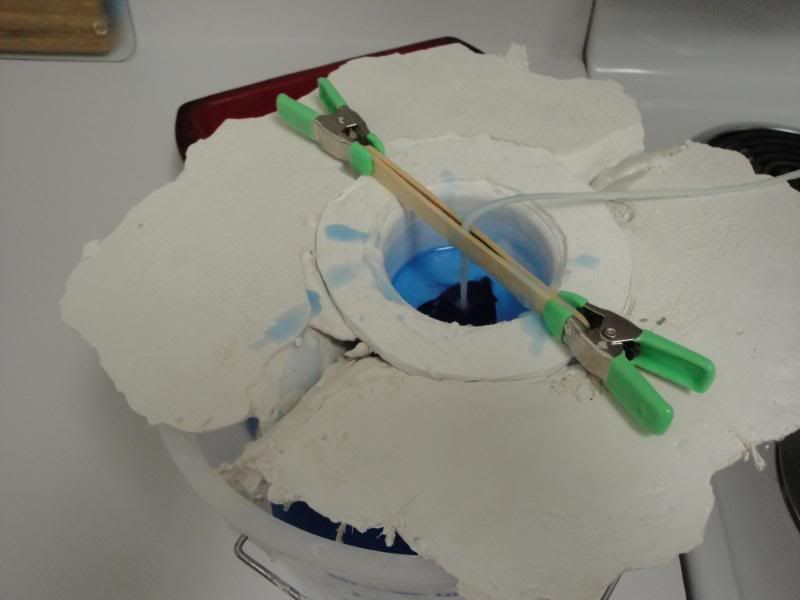
Almost done pouring.
All done. Keep in mind that your wax will almost certainly shrink as it dries, so you may need to come back in and pour just a little more.
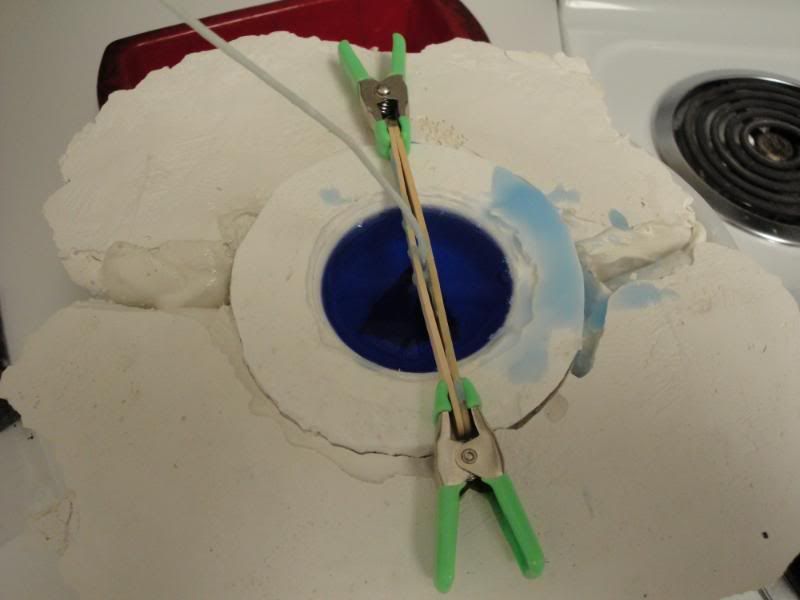
Dried wax. Tough to see, but you can see the shrinkage that occurred here. it stuck to the sides and the wick, but formed sort of a trough around the wick area.
Maybe a bit of a better shot of the trough.
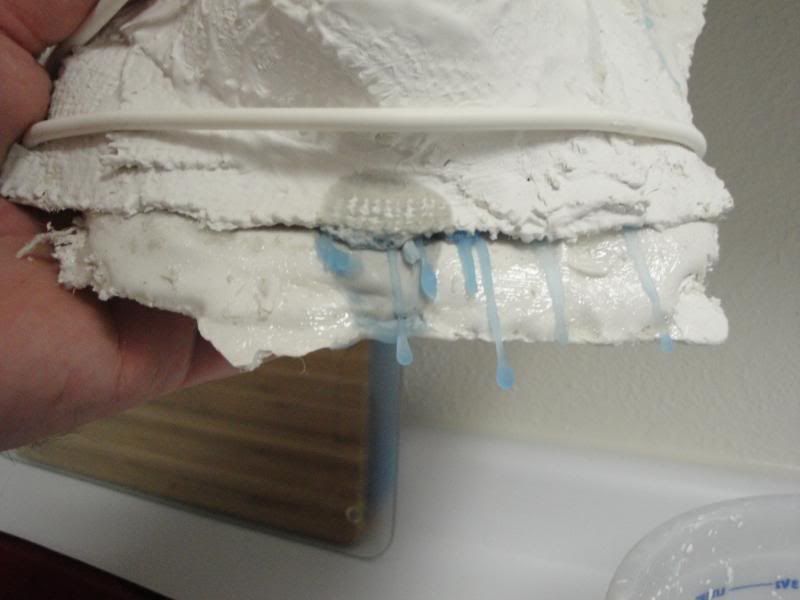
Here's where my wax leaked out. not sure how to fix this, unfortunately.
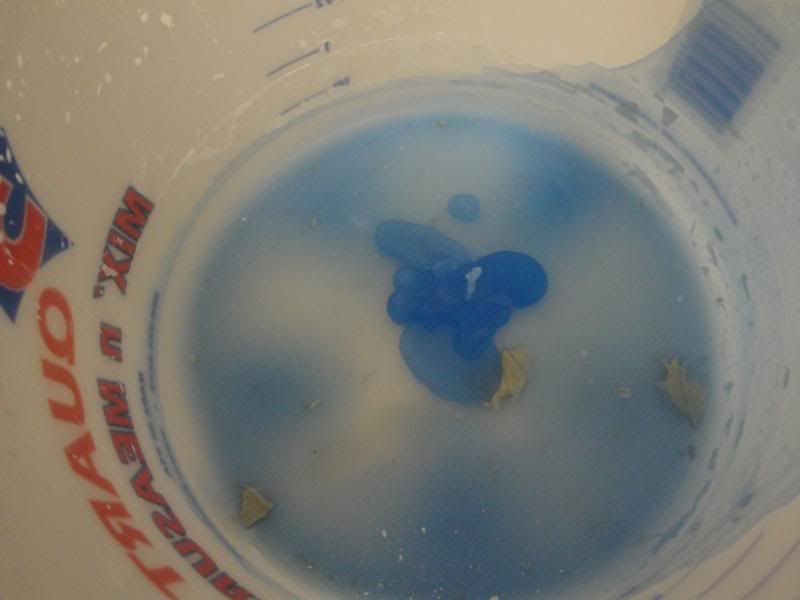
The big pile of wa in my bucket. Thankfully the drip was slow enough that I didn't lose too much of it.
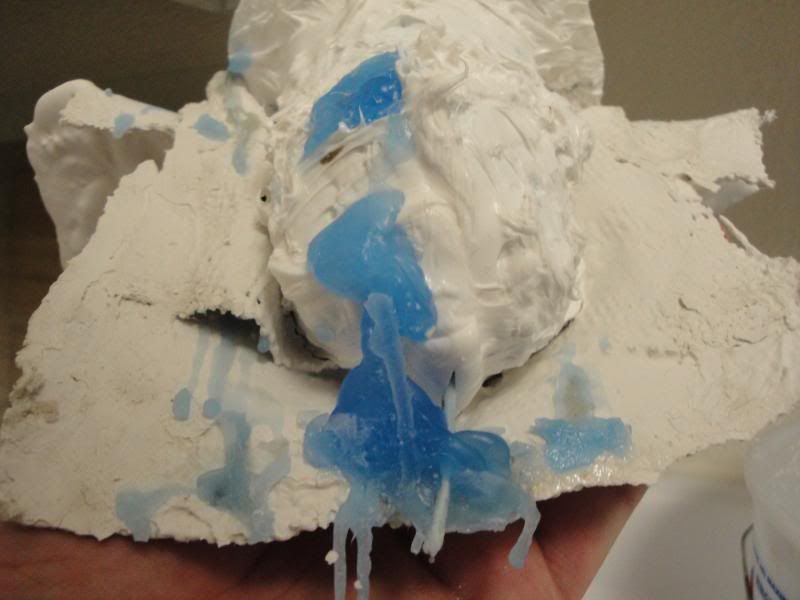
Here's all the excess that dripped out. Kinda gross.
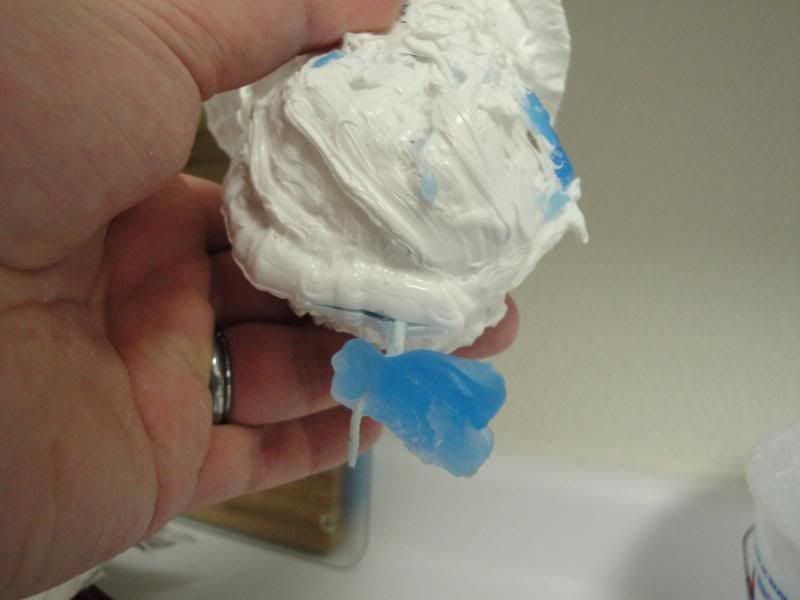
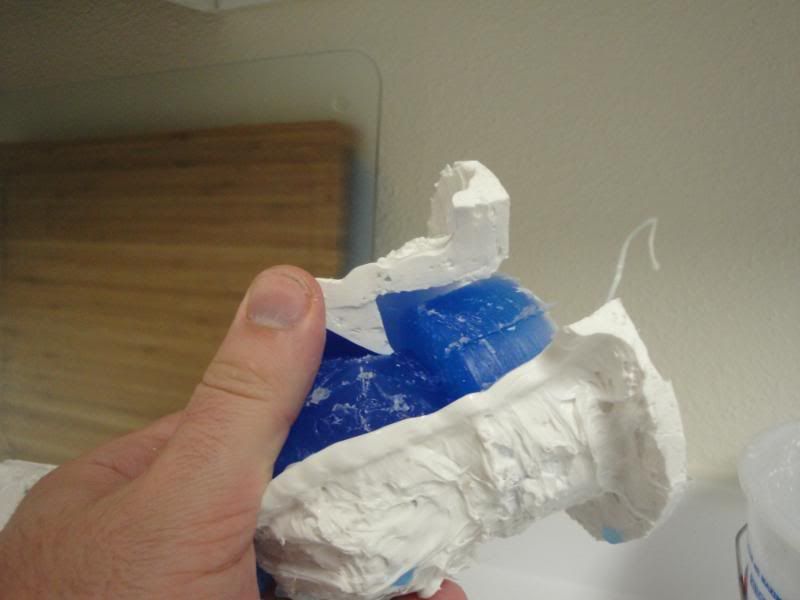
The mold pulled out of the plaster jackets.
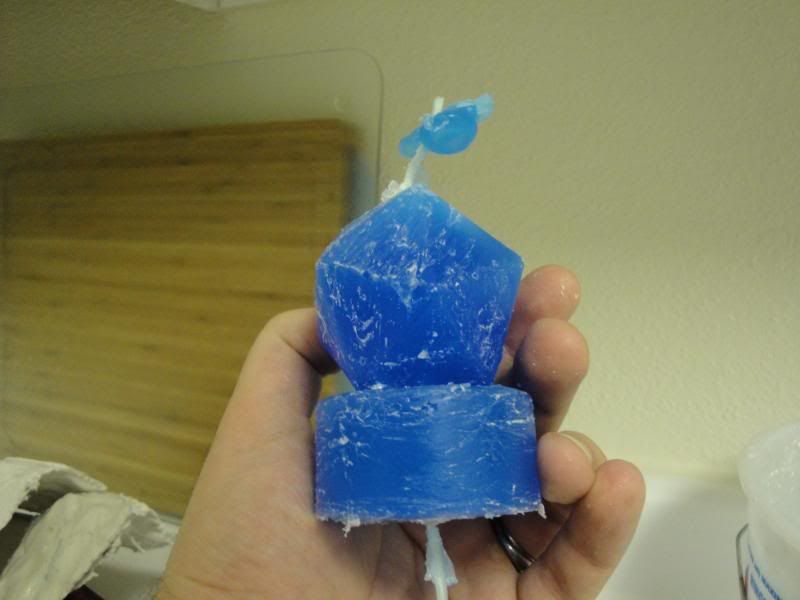
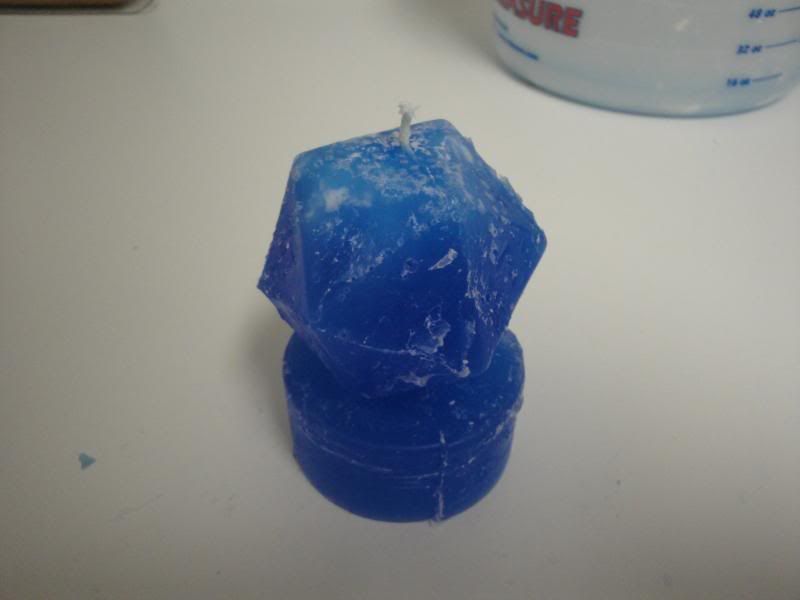
Look at that pretty blue! I like it.
Need to trim the wick on top and bottom.
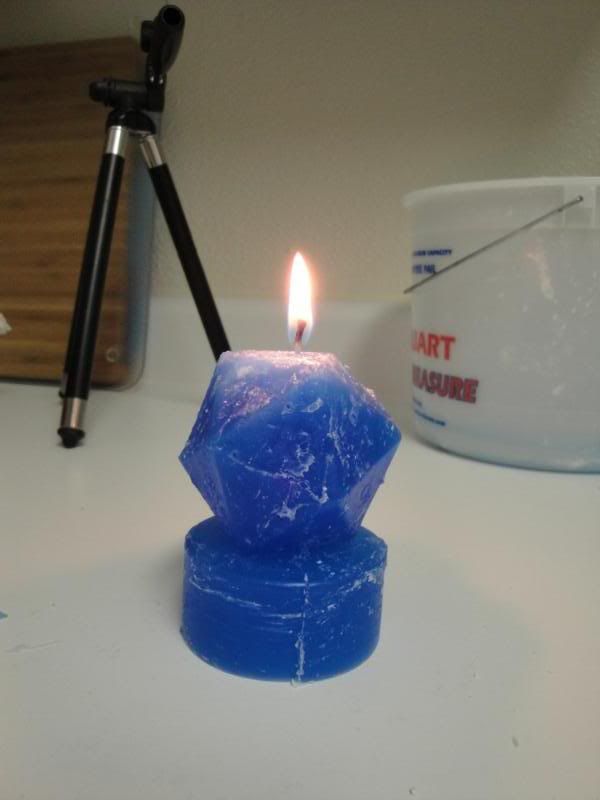
Here's the completed candle! Sorta ugly, right? I have my theories as to why that is.
It works!
Okay, that's all there is so far. I think I need to use the double boiler to melt my wax and I think I need to be much more aware of my pour temperature. I kept the wax much cooler this time than last time and though the surface is a lot better, it's still far from perfect. Achieving the proper pour temperature and maintaining the wax there will be the key to smooth and unclouded surfaces, I think. Hope you all enjoyed this little project. I'll be doing more of them for sure.
Subscribe to:
Posts (Atom)


