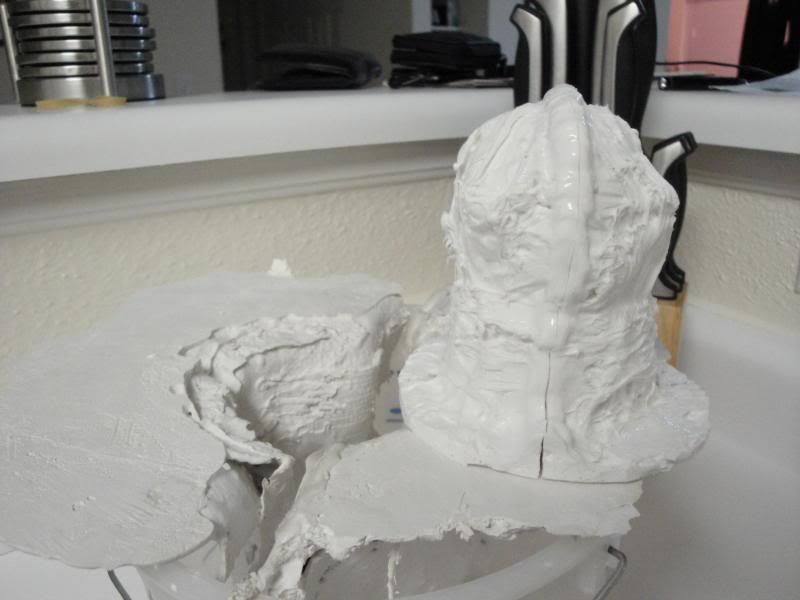
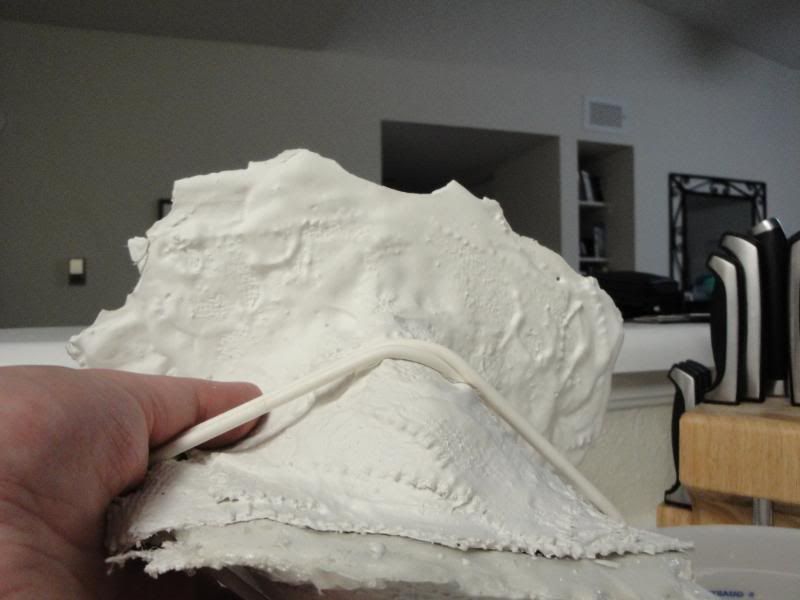
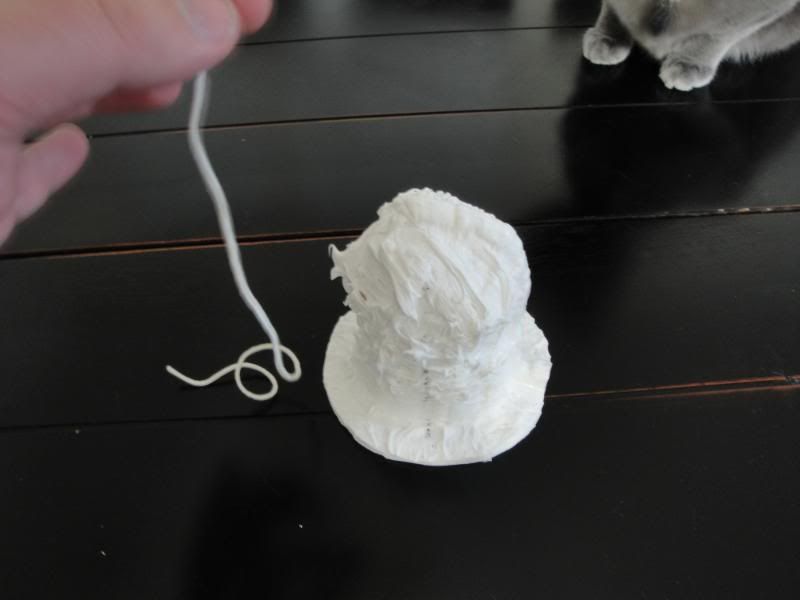
This is the white silicone mold on top of the plaster jackets. Since everything (including my kitchen) is white, it's tough to see. Not all that important.
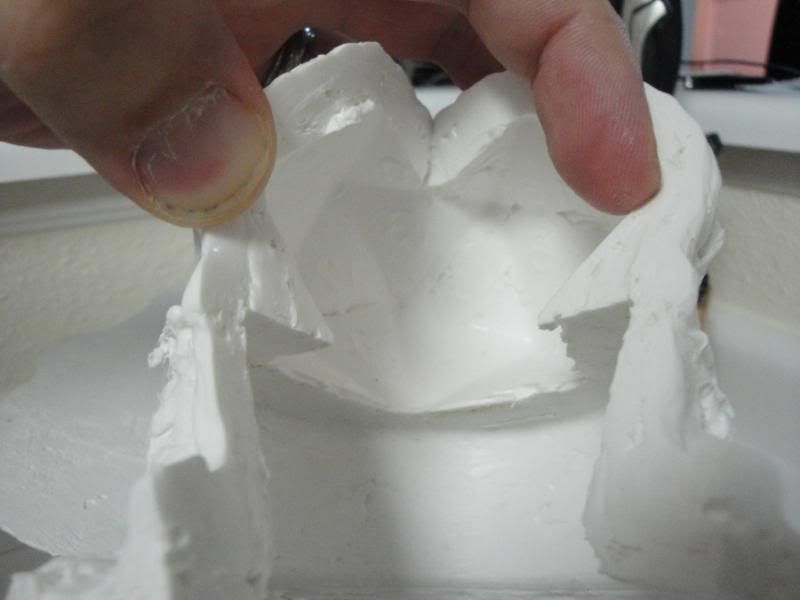
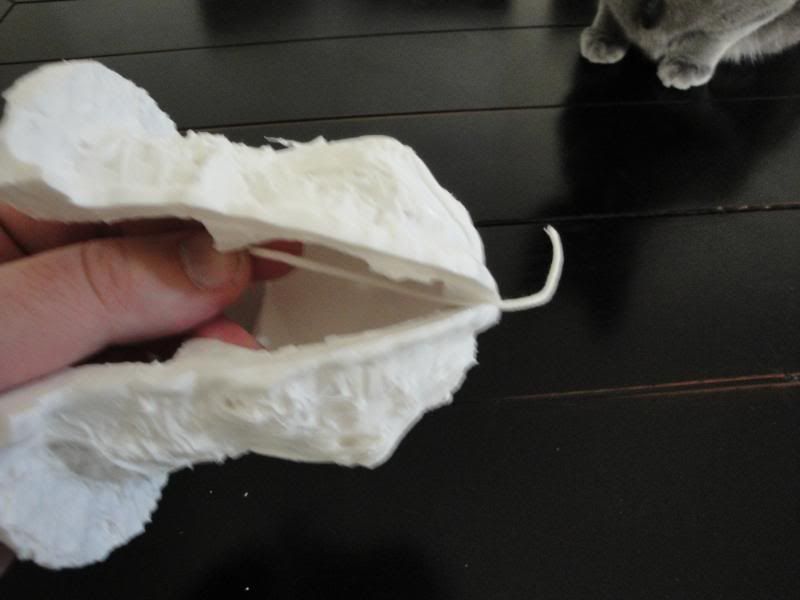
Here's the inside of the mold. You can see how it's a little rough.
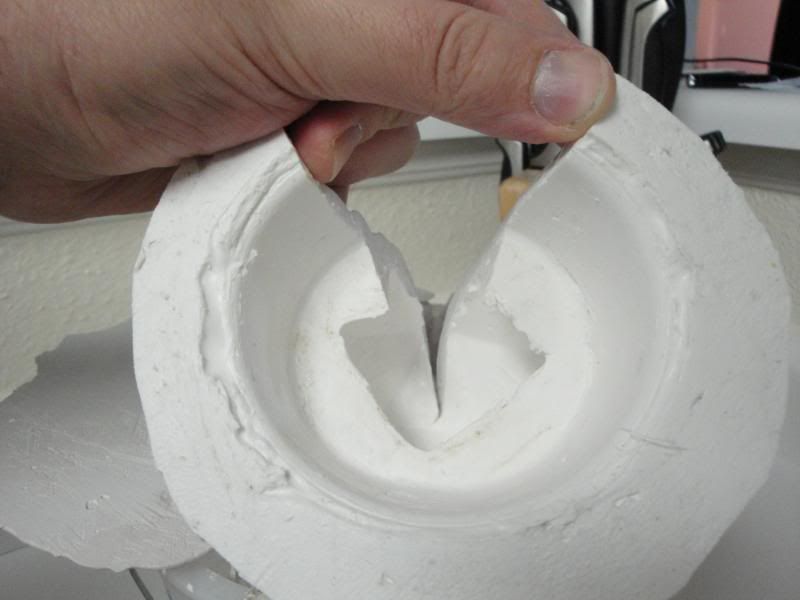
Better picture of the cut seam. Goes all the way to the top to allow for the wick.
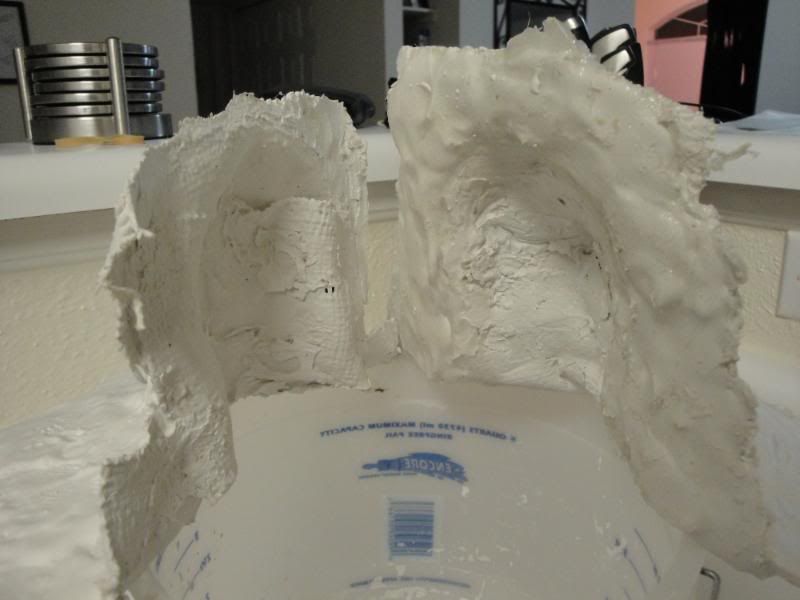
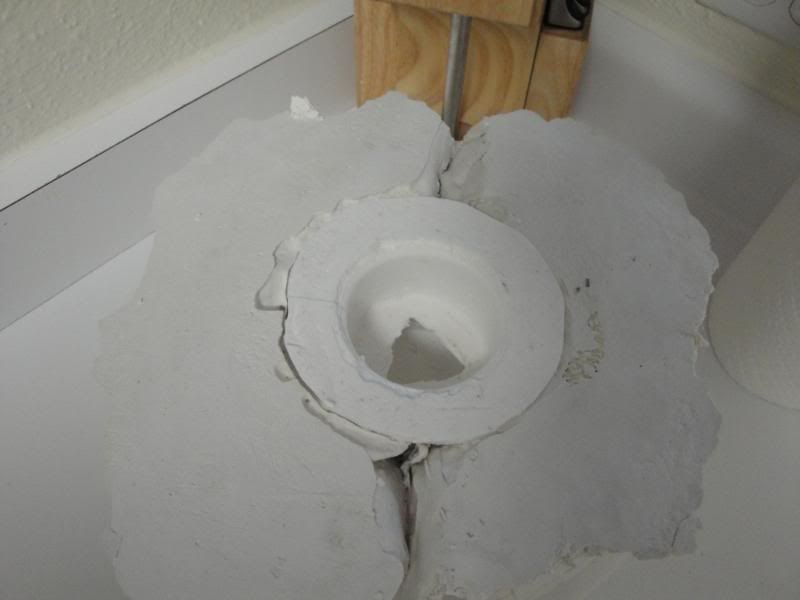
Here is the plaster mother mold on top of the bucket. These two clamp around the silicone mold and then get set inside the bucket to hold them upright.

The silicone mold inside the plaster. The fit isn't exact by a long shot. Next time, I think I'll do a layer of just plaster first and then reinforce with bandages. I think a tighter fit would work better and help keep the whole thing more aligned.
Here's the giant rubber band I used to keep this mess together. Later, I added some little green clamps. Note to self: Build this in such a way that clamps are easy to apply and have a place to sit. The rubber band is a pain.
Here's the whole shebang all put together.
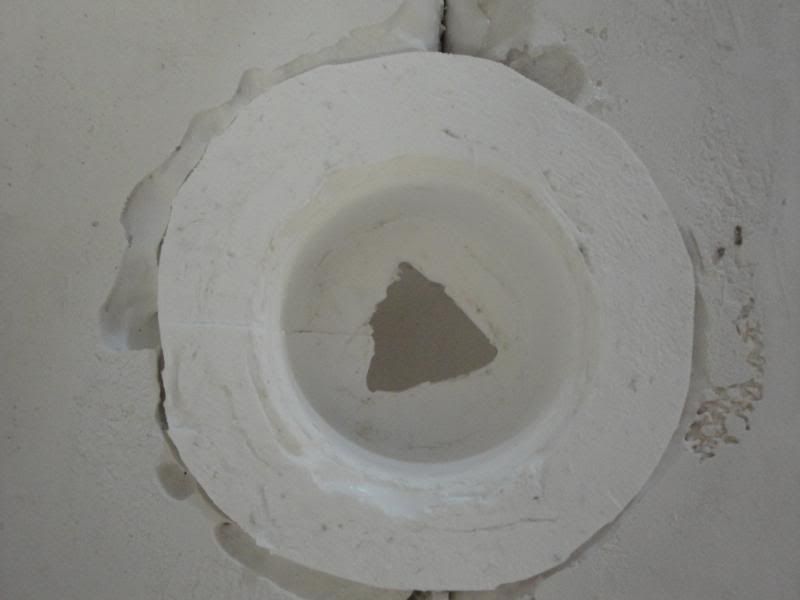
You can see all the way down. Still no wick in here, though.
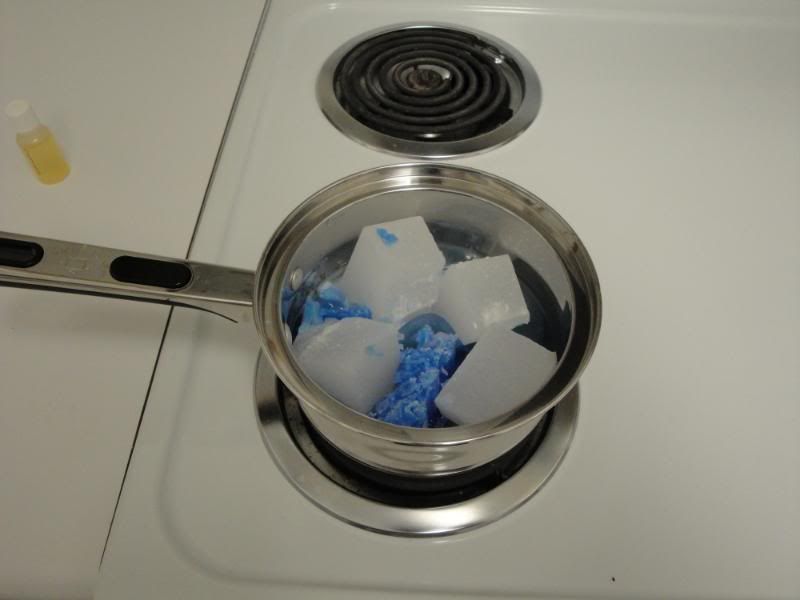
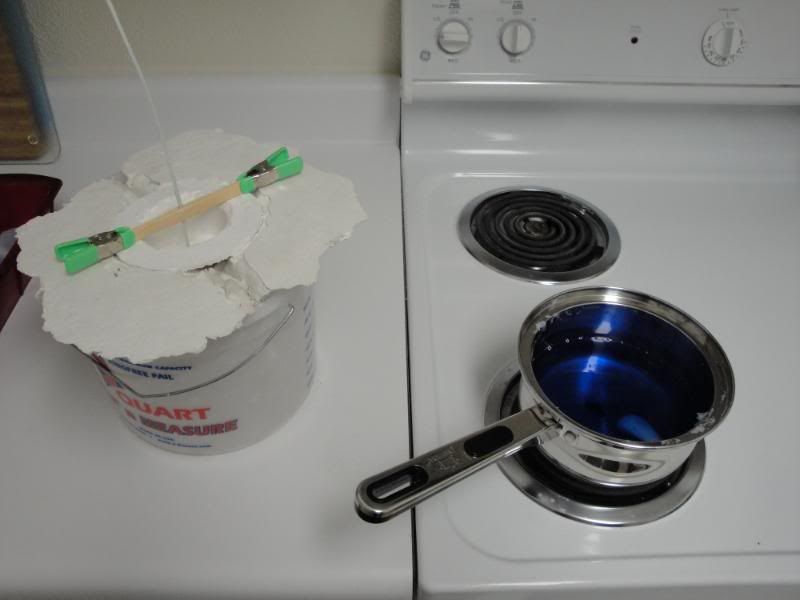
Here's the wax melting. The blue is from a previous attempt that failed. I'm still making a blue candle so I figured I'd use this stuff up.
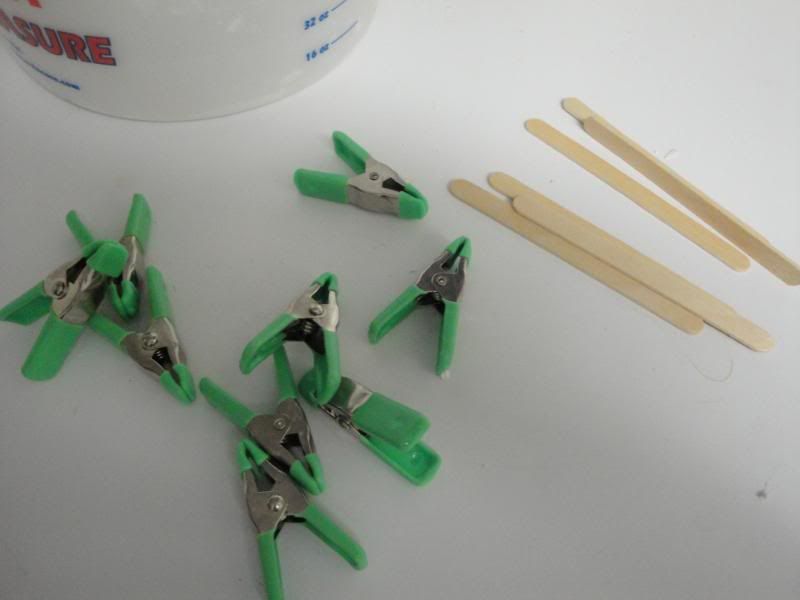
Here are my little green clamps and some popsicle sticks. These are both so useful I don't think any crafter should be without them.
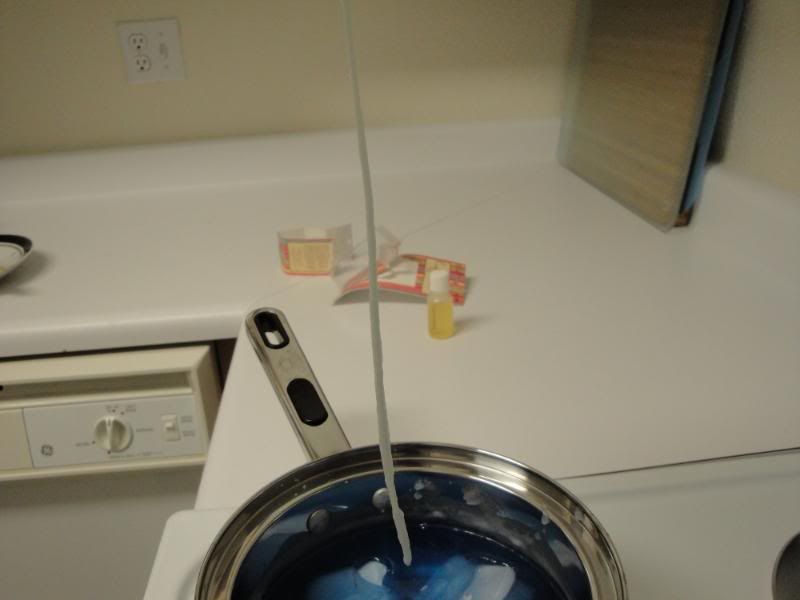
Here's the wick. Still just a string right now. Note how freakin' long it is. I probably made it longer than it needed to be, but better too long than too short.
Tuck the wick right into the slit at the top of the mold. The mold will hold it in place.

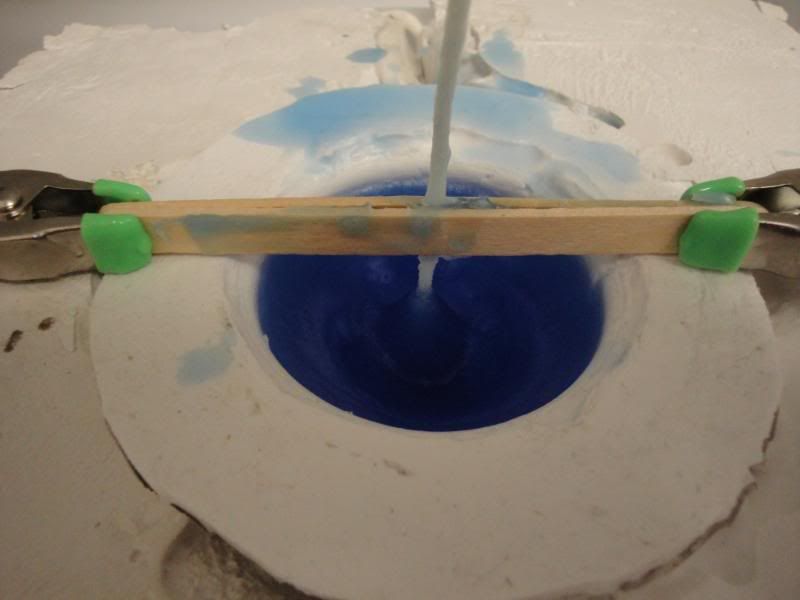
Use your clamps and popsicle sticks to hold the wick upright.

Maneuver as necessary to ensure that the wick goes straight through the center of your candle.
Priming the wick. This is important. You dip the wick into your wax and then straighten it out so it dries straight and even. This will help you with getting a good burn and also with keeping it straight through the middle of the candle.

Here's the primed wick centered in the candle.

Wax almost all melted. I added more blue and some cinnamon scent. I didn't add enough scent, though. You can sort of smell it if you stick the candle in your nose and inhale.
If you want to keep this cleaner, you can put down some newspaper between the pot and the mold. Just don't set your newspaper on fire or anything.
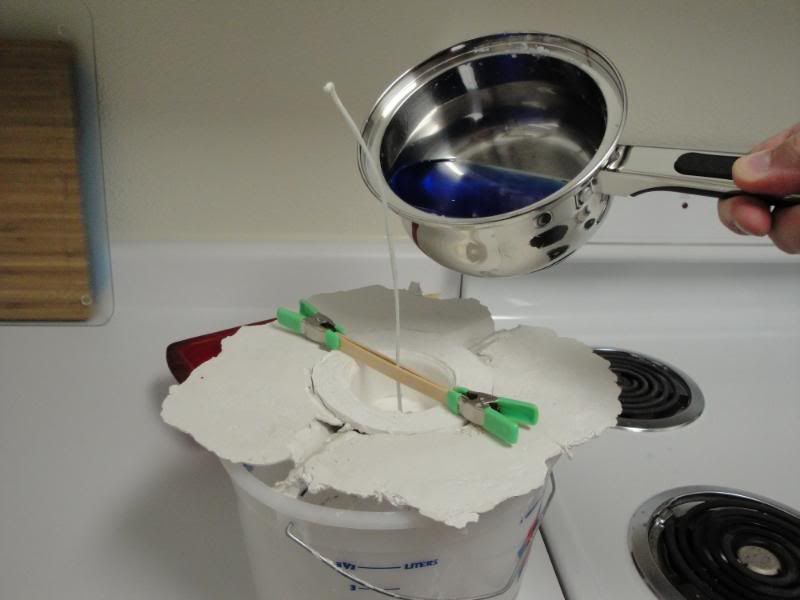
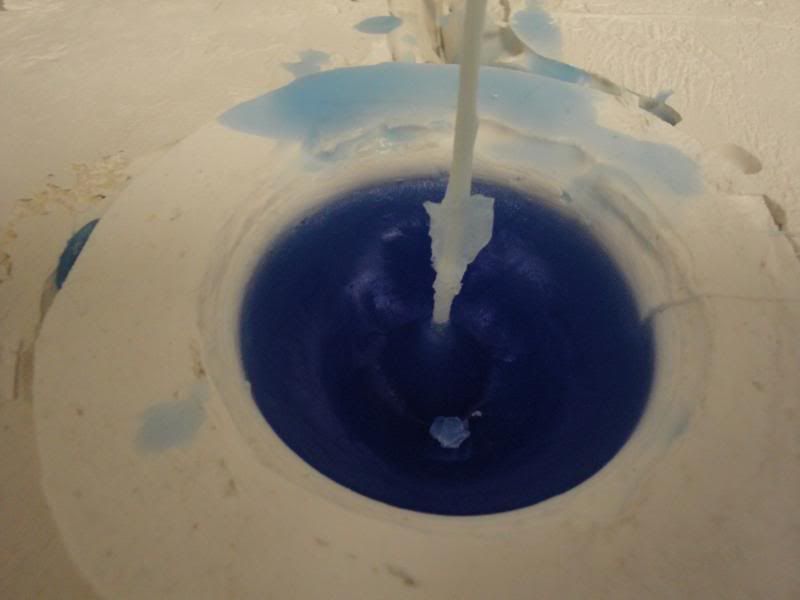
The pour. Slow and steady. I had to go really slow and pause a lot because the wax wanted to run out of the bottom through the gap where the wick was. That's something I need to figure out for future projects.
Almost done pouring.
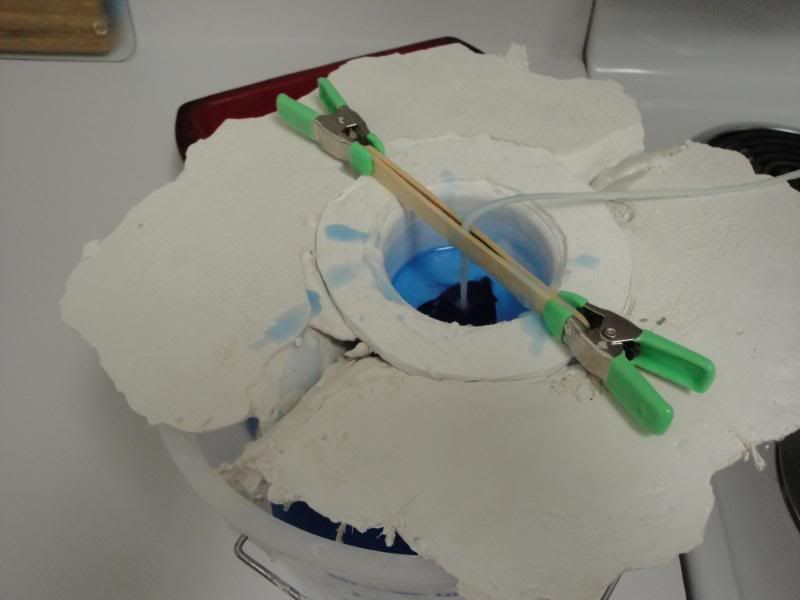
All done. Keep in mind that your wax will almost certainly shrink as it dries, so you may need to come back in and pour just a little more.
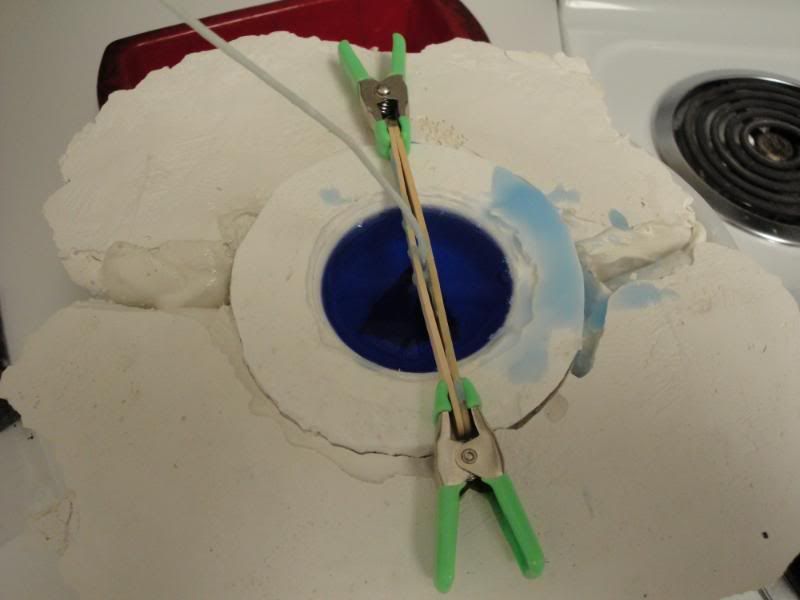
Dried wax. Tough to see, but you can see the shrinkage that occurred here. it stuck to the sides and the wick, but formed sort of a trough around the wick area.
Maybe a bit of a better shot of the trough.
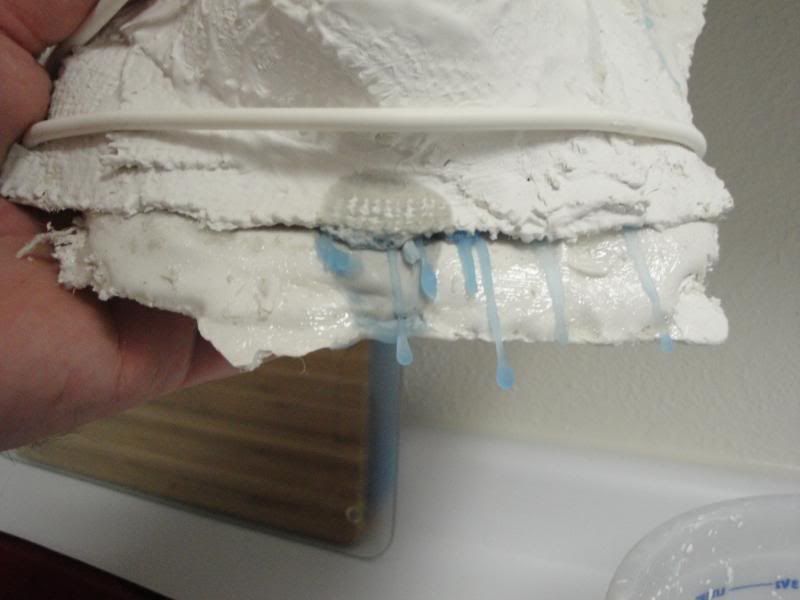
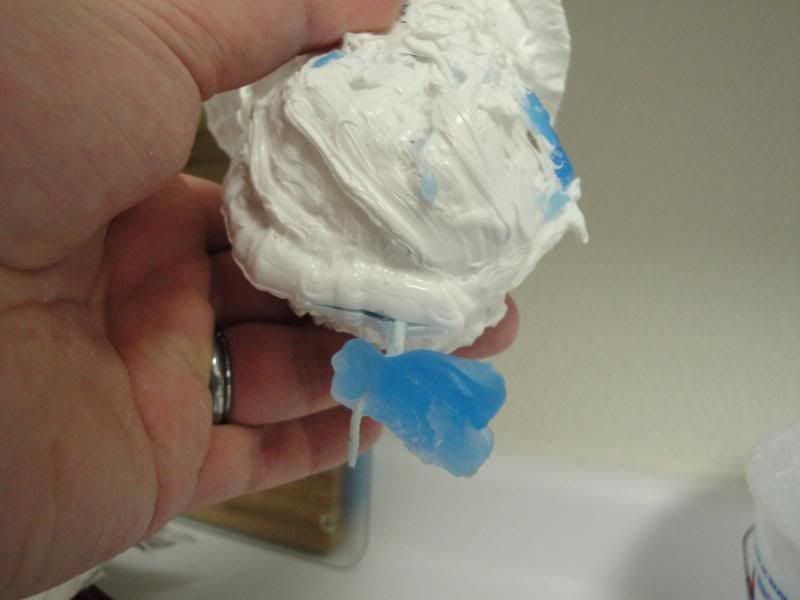
Here's where my wax leaked out. not sure how to fix this, unfortunately.
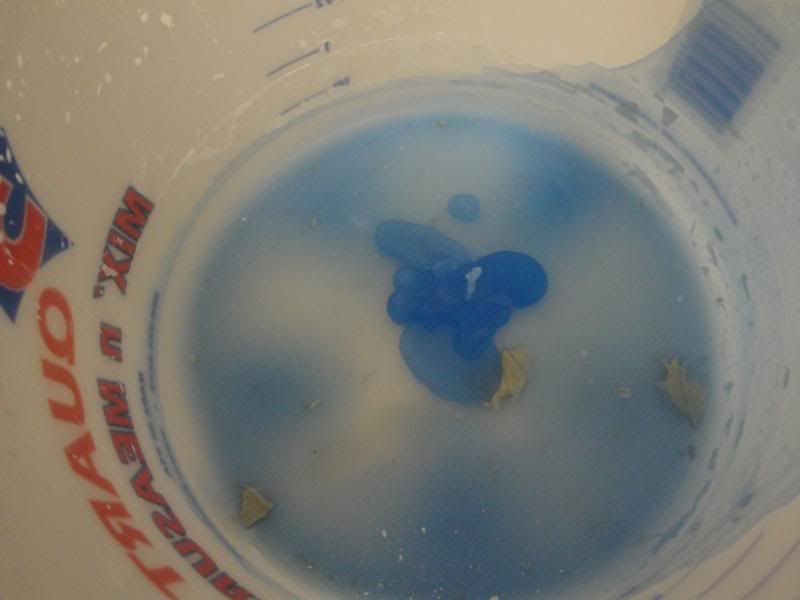
The big pile of wa in my bucket. Thankfully the drip was slow enough that I didn't lose too much of it.
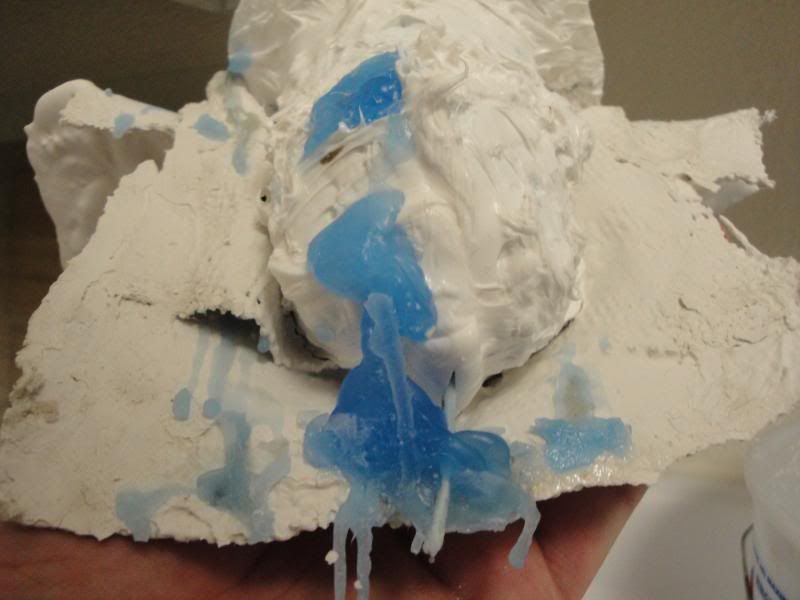
Here's all the excess that dripped out. Kinda gross.
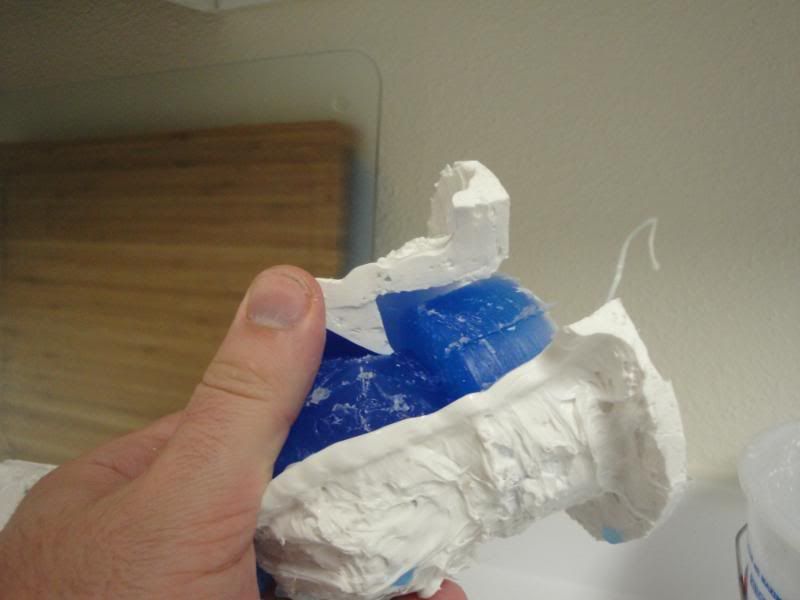
The mold pulled out of the plaster jackets.
Look at that pretty blue! I like it.
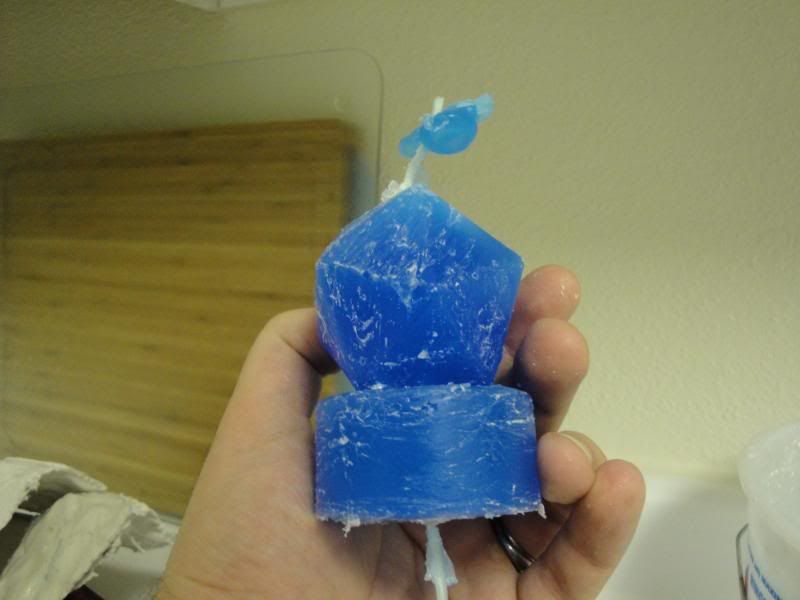
Need to trim the wick on top and bottom.
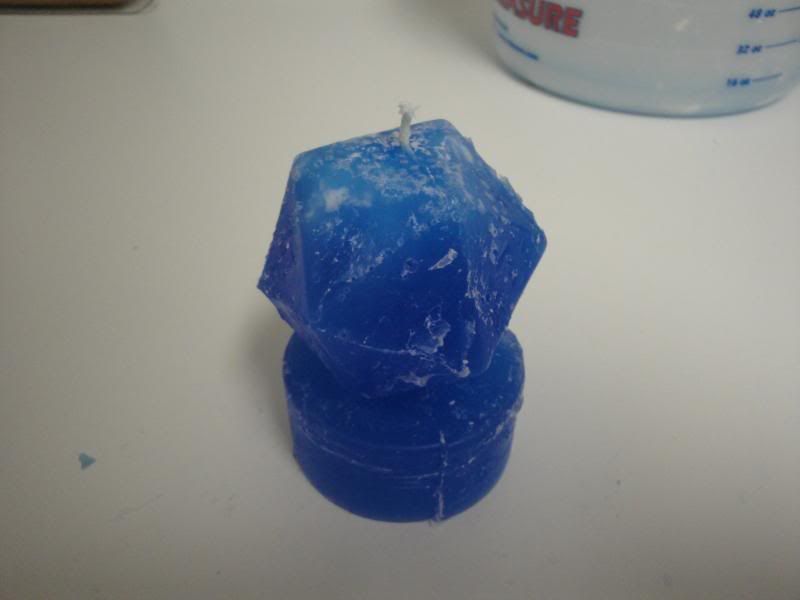
Here's the completed candle! Sorta ugly, right? I have my theories as to why that is.

It works!
Okay, that's all there is so far. I think I need to use the double boiler to melt my wax and I think I need to be much more aware of my pour temperature. I kept the wax much cooler this time than last time and though the surface is a lot better, it's still far from perfect. Achieving the proper pour temperature and maintaining the wax there will be the key to smooth and unclouded surfaces, I think. Hope you all enjoyed this little project. I'll be doing more of them for sure.