Friday, February 12, 2010

Candle!

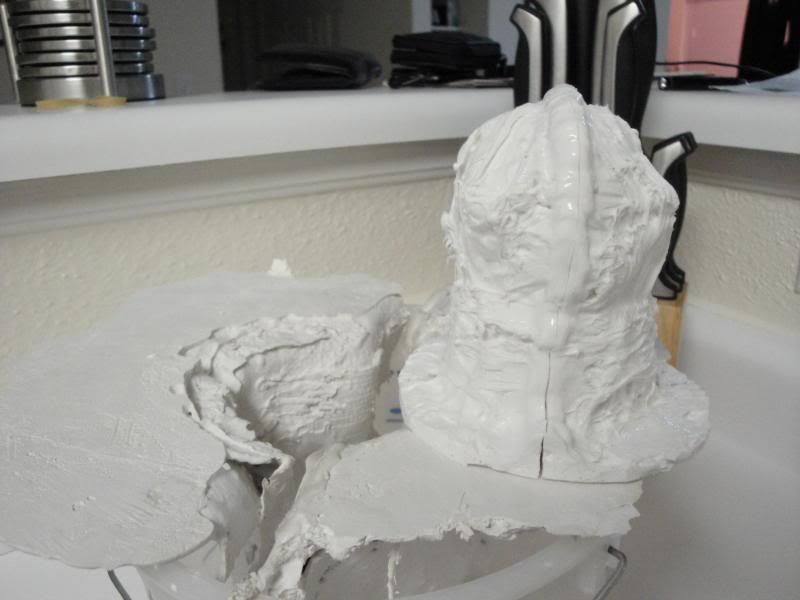
Okay, I finally got everything done and poured myself a candle. I even took pictures. I took way too many pictures, actually. Here they are:


This is the white silicone mold on top of the plaster jackets. Since everything (including my kitchen) is white, it's tough to see. Not all that important.
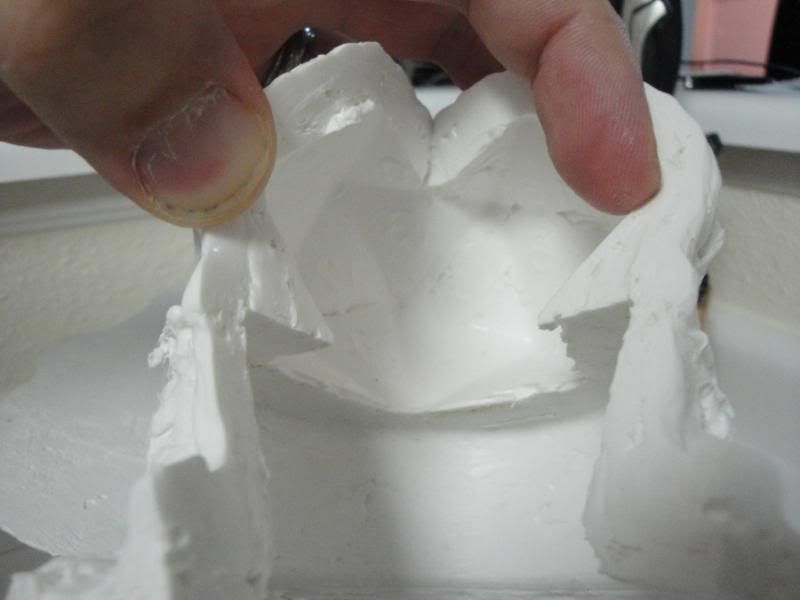
 
Here's the inside of the mold. You can see how it's a little rough.
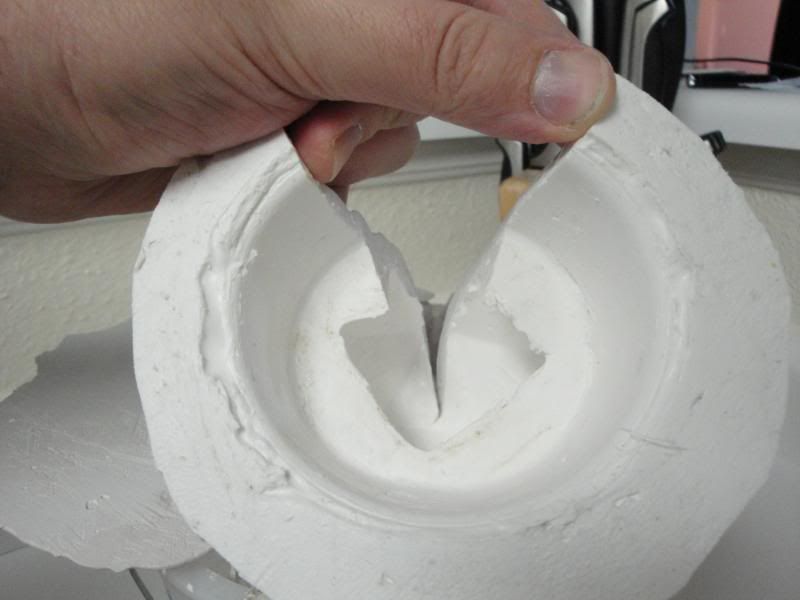
  
Better picture of the cut seam. Goes all the way to the top to allow for the wick.
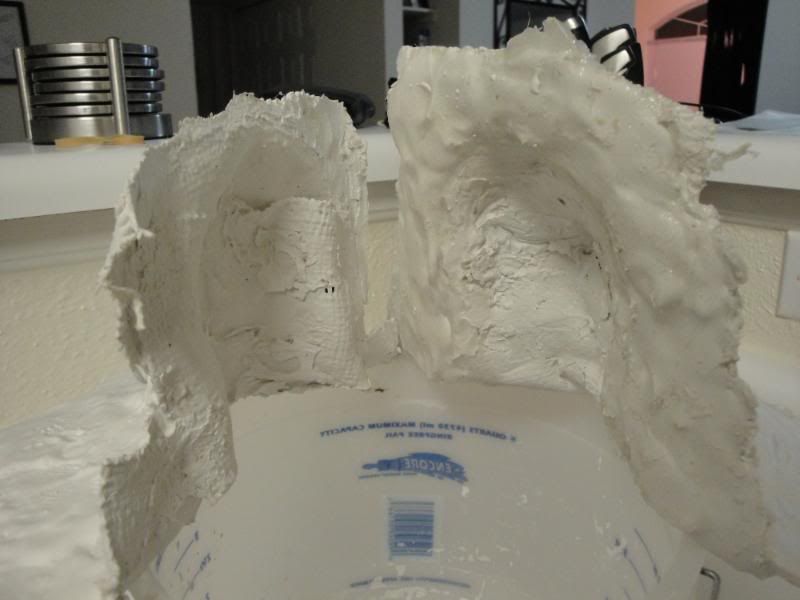
  
Here is the plaster mother mold on top of the bucket. These two clamp around the silicone mold and then get set inside the bucket to hold them upright.

  
The silicone mold inside the plaster. The fit isn't exact by a long shot. Next time, I think I'll do a layer of just plaster first and then reinforce with bandages. I think a tighter fit would work better and help keep the whole thing more aligned.
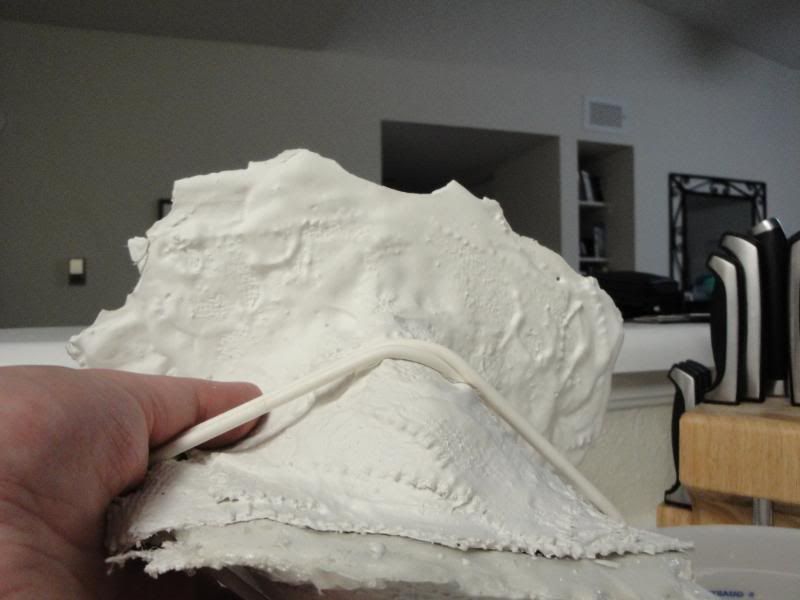
  
 Here's the giant rubber band I used to keep this mess together. Later, I added some little green clamps. Note to self: Build this in such a way that clamps are easy to apply and have a place to sit. The rubber band is a pain.
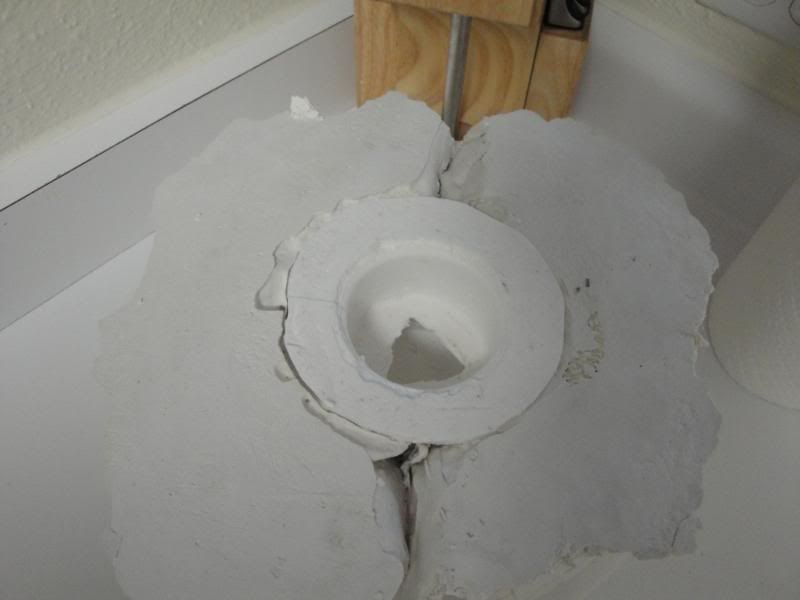
  
Here's the whole shebang all put together.
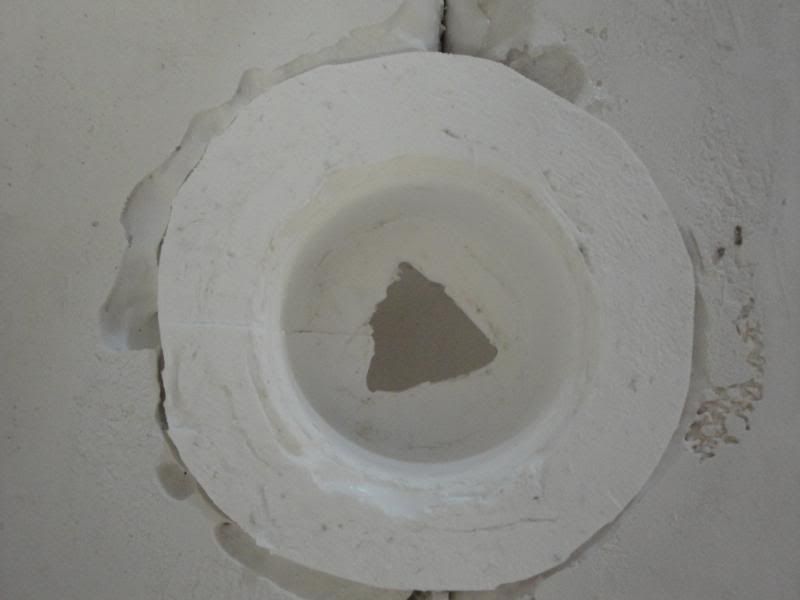
  
You can see all the way down. Still no wick in here, though.
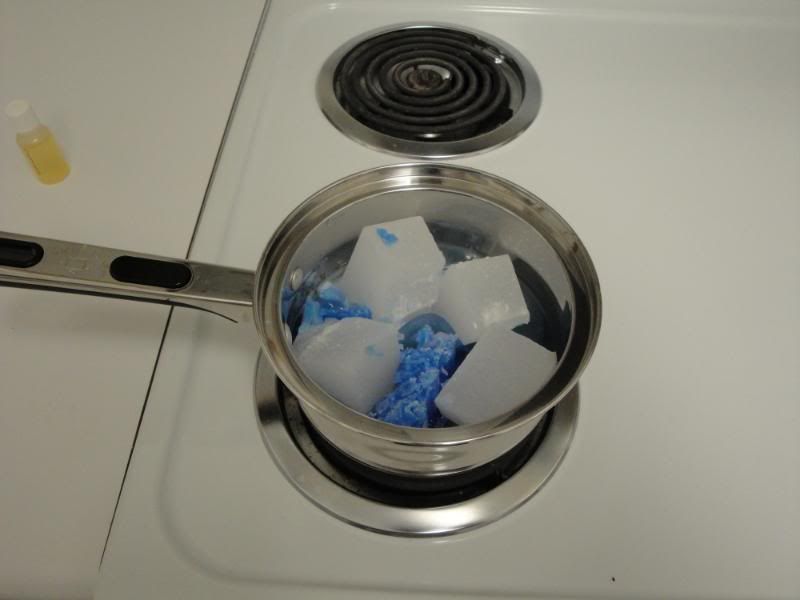
  
 Here's the wax melting. The blue is from a previous attempt that failed. I'm still making a blue candle so I figured I'd use this stuff up.
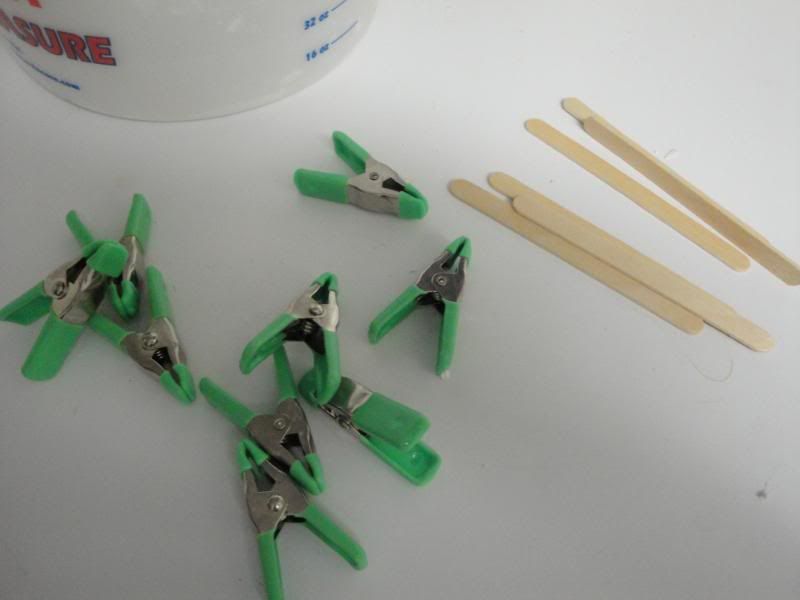
 
  
Here are my little green clamps and some popsicle sticks. These are both so useful I don't think any crafter should be without them.
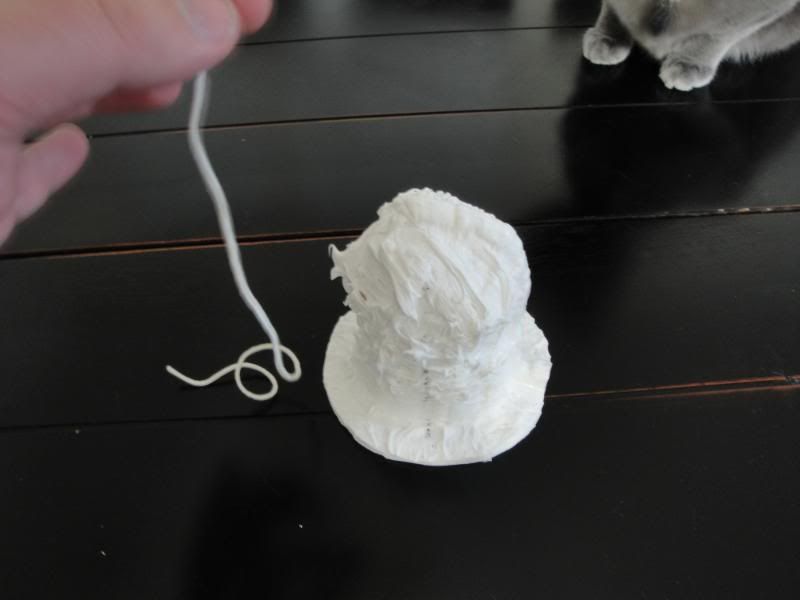
  
Here's the wick. Still just a string right now. Note how freakin' long it is. I probably made it longer than it needed to be, but better too long than too short.
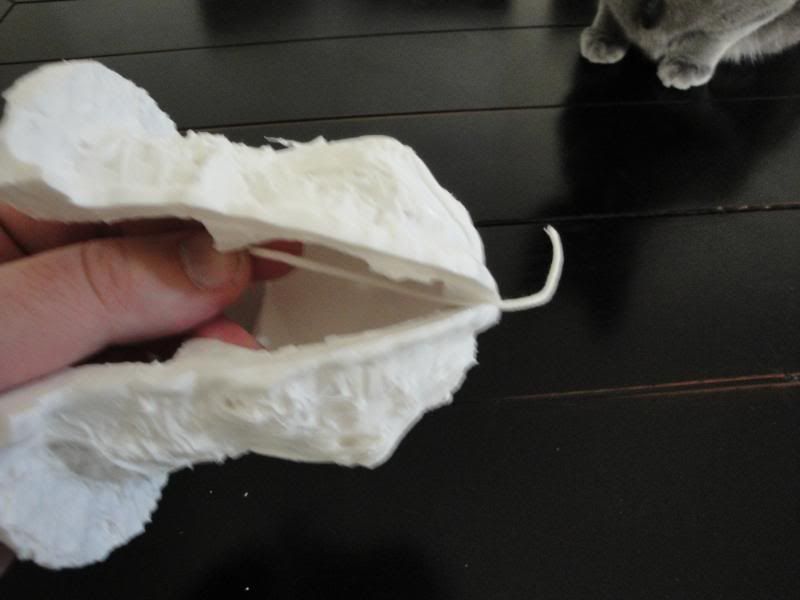
  
Tuck the wick right into the slit at the top of the mold. The mold will hold it in place.

  
Use your clamps and popsicle sticks to hold the wick upright.

  
Maneuver as necessary to ensure that the wick goes straight through the center of your candle.
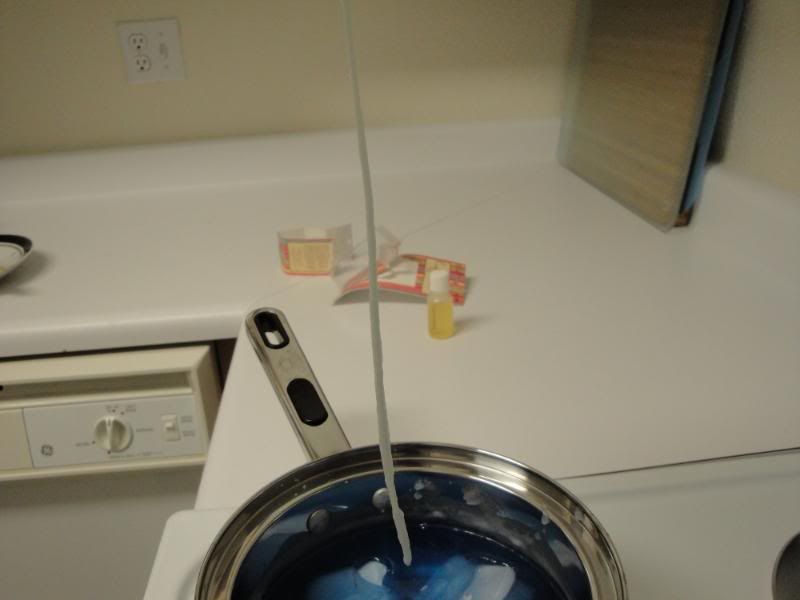
  
Priming the wick. This is important. You dip the wick into your wax and then straighten it out so it dries straight and even. This will help you with getting a good burn and also with keeping it straight through the middle of the candle.

  
Here's the primed wick centered in the candle.

  
Wax almost all melted. I added more blue and some cinnamon scent. I didn't add enough scent, though. You can sort of smell it if you stick the candle in your nose and inhale.
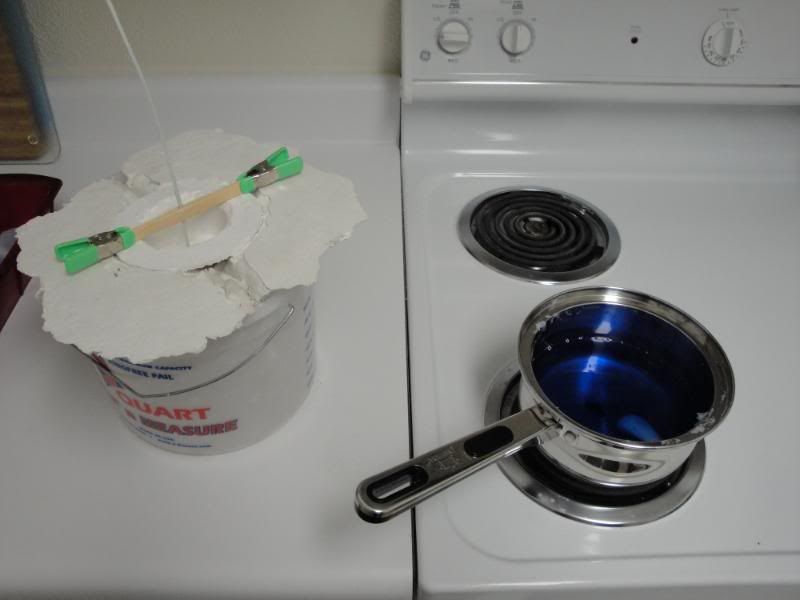
  
If you want to keep this cleaner, you can put down some newspaper between the pot and the mold. Just don't set your newspaper on fire or anything.
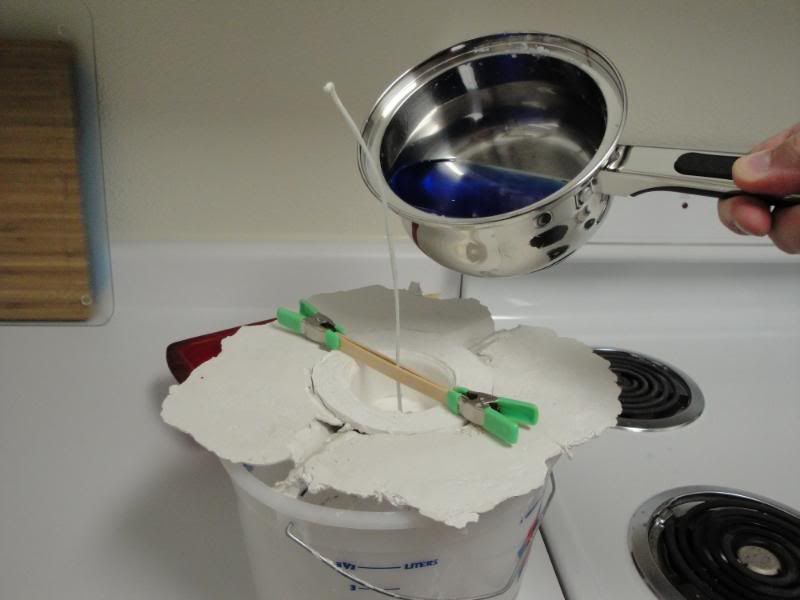
  
The pour. Slow and steady. I had to go really slow and pause a lot because the wax wanted to run out of the bottom through the gap where the wick was. That's something I need to figure out for future projects.
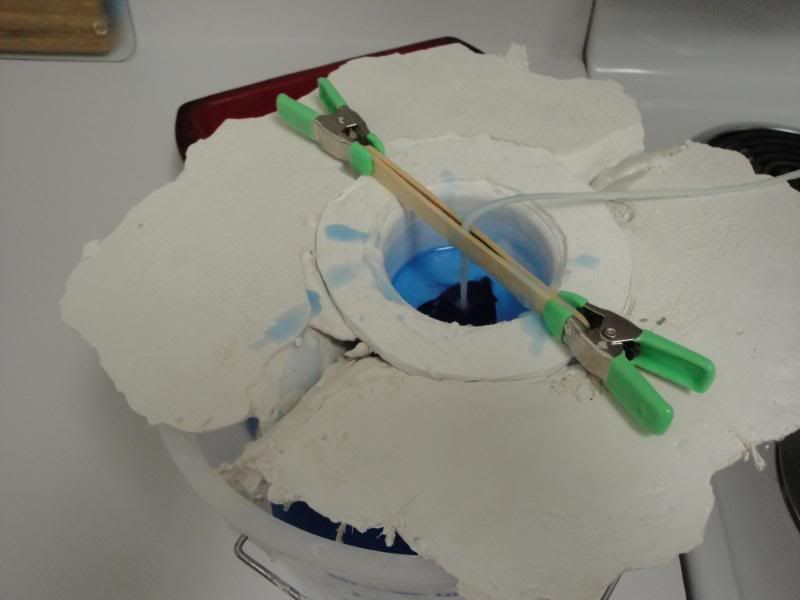
  
Almost done pouring.
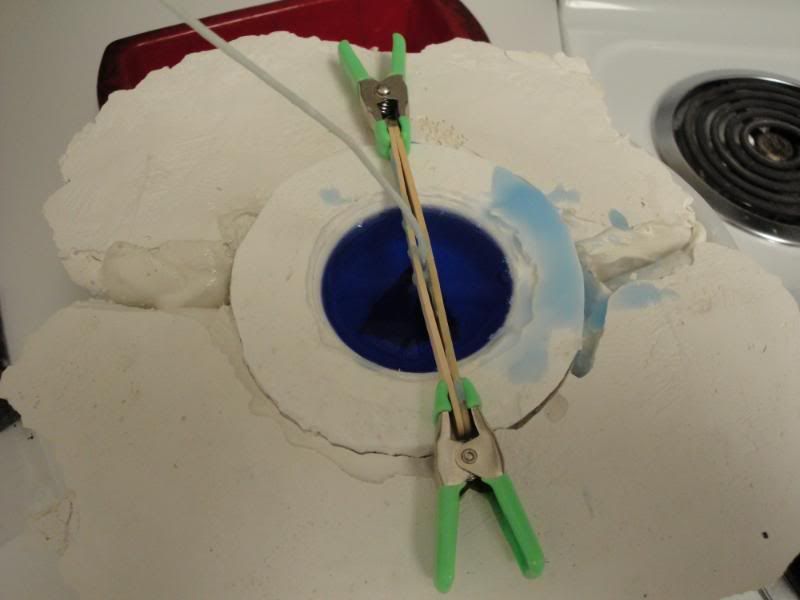
  
All done. Keep in mind that your wax will almost certainly shrink as it dries, so you may need to come back in and pour just a little more.
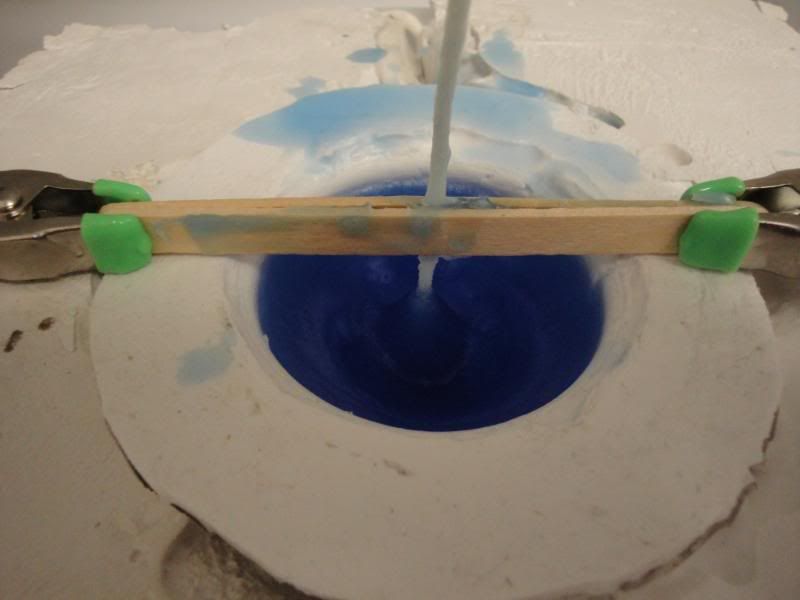
  
Dried wax. Tough to see, but you can see the shrinkage that occurred here. it stuck to the sides and the wick, but formed sort of a trough around the wick area.
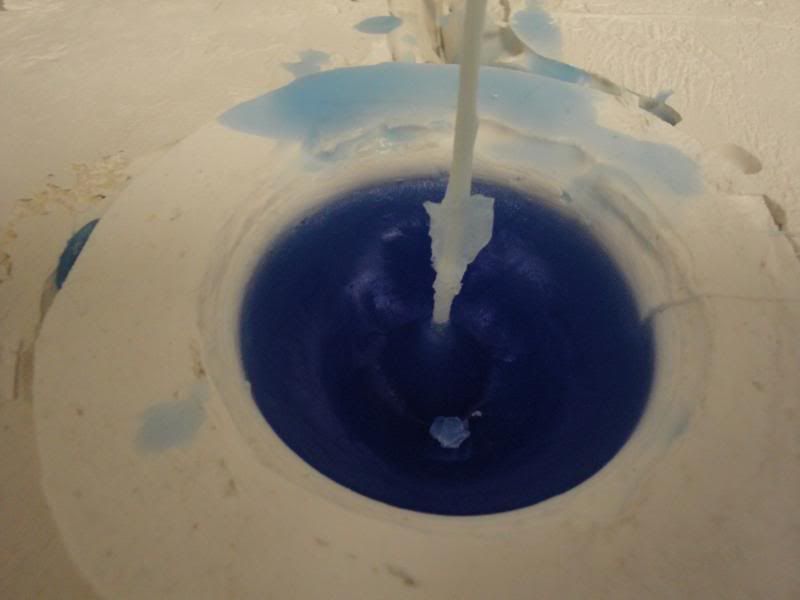
  
Maybe a bit of a better shot of the trough.
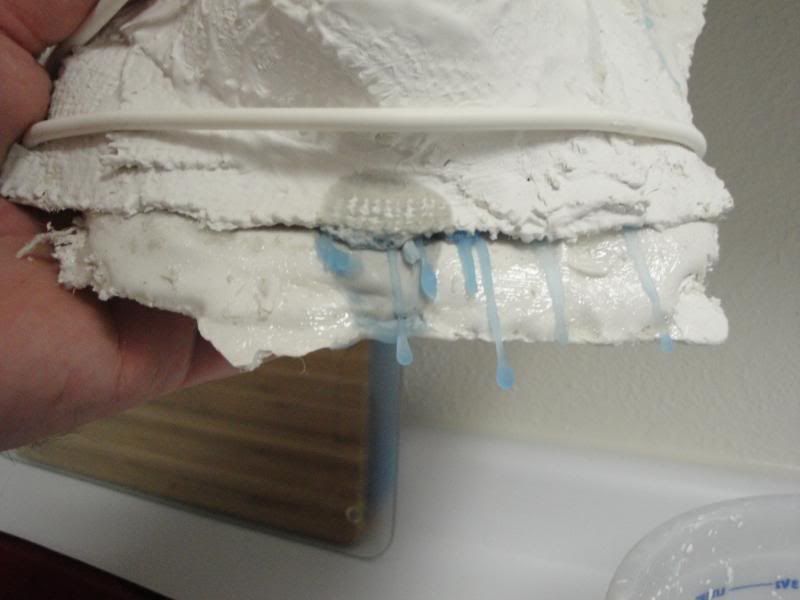
  
Here's where my wax leaked out. not sure how to fix this, unfortunately.
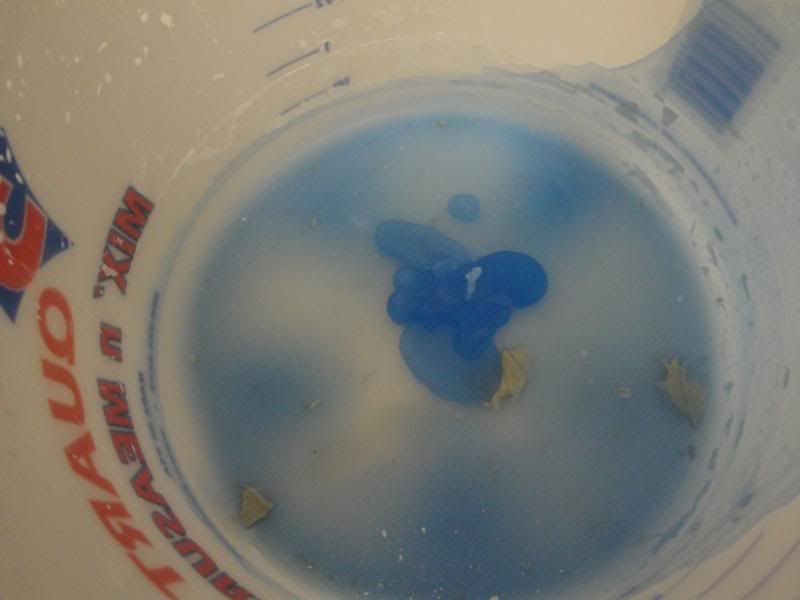
  
The big pile of wa in my bucket. Thankfully the drip was slow enough that I didn't lose too much of it.
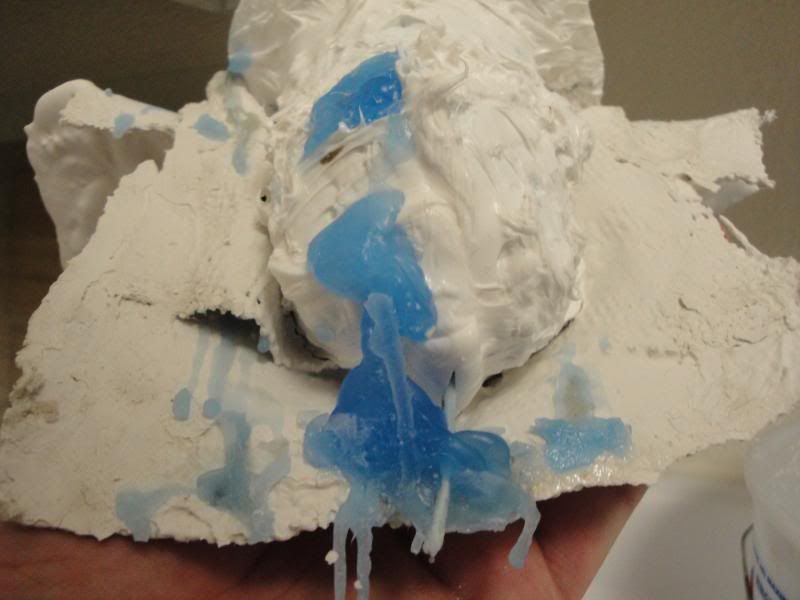
  
Here's all the excess that dripped out. Kinda gross.
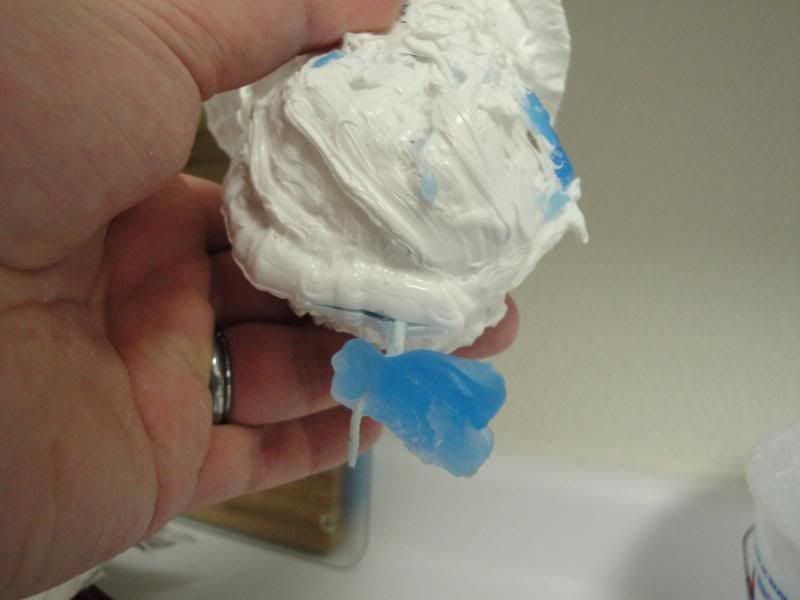
  
The mold pulled out of the plaster jackets.
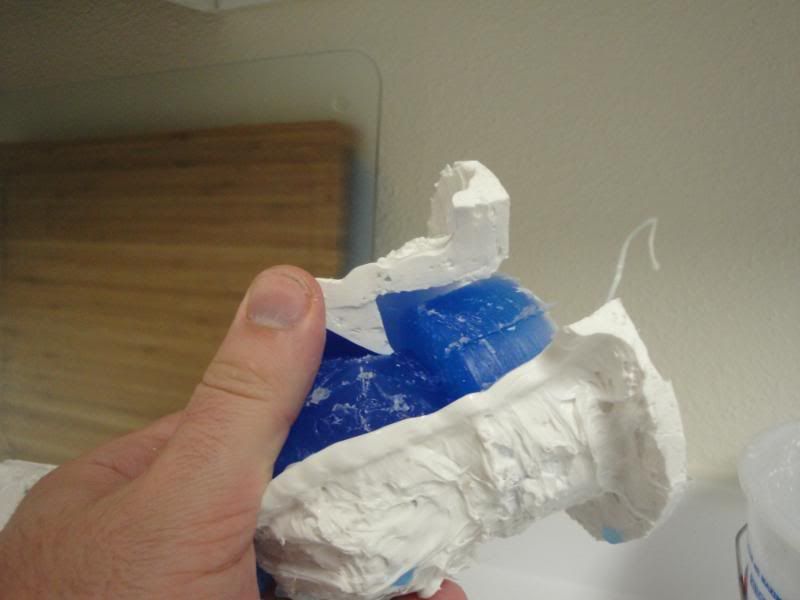
  
Look at that pretty blue! I like it.
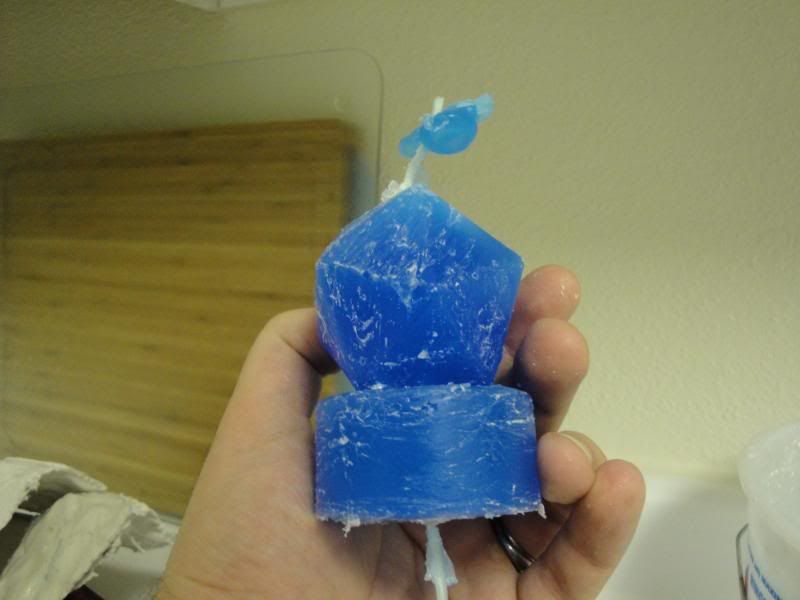
  
Need to trim the wick on top and bottom.
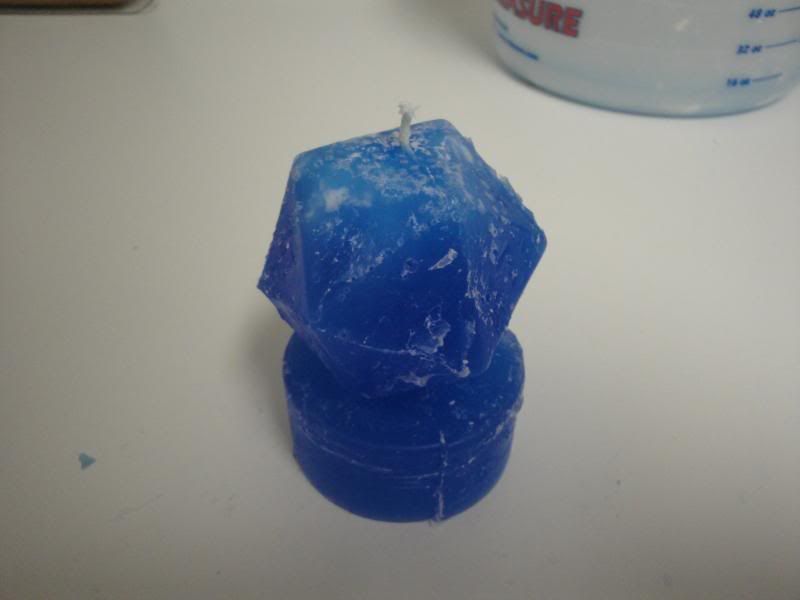
  
Here's the completed candle! Sorta ugly, right? I have my theories as to why that is.
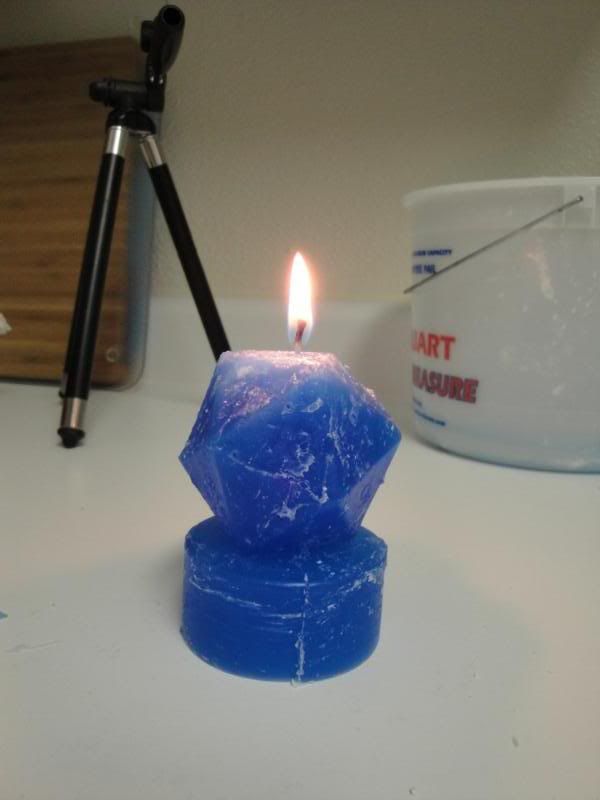

It works!

Okay, that's all there is so far. I think I need to use the double boiler to melt my wax and I think I need to be much more aware of my pour temperature. I kept the wax much cooler this time than last time and though the surface is a lot better, it's still far from perfect. Achieving the proper pour temperature and maintaining the wax there will be the key to smooth and unclouded surfaces, I think. Hope you all enjoyed this little project. I'll be doing more of them for sure.

Monday, February 8, 2010

Near Success!

Well, the mold isn't perfect. I finally got some burlap and slathered it with plaster to form my shell. That worked beautifully. $5 of burlap makes enough bandages for about half a dozen molds the size I'm doing. Maybe more. The key is getting the plaster to the right consistency. Normally I do 2:1 plaster to water by weight, but I added a bit more water this time to keep the plaster liquid. It worked pretty well, but you still need to work quickly. Adding more water to the plaster mix will work, but only for a little while. Once the plaster has set past a certain point, it will just turn into slimy clumps and that's not good for anyone. Once you get the burlap soaked in plaster, you can just sort of slather it onto the mold. I think I've described the process in detail before so I won't bother you with it again.

This works pretty well. The burlap is thicker and heavier than the gauze you normally use for plaster bandages and so it doesn't like to mold as closely to the model. You can fill in the gaps with thickened plaster pretty easily. For this process you don't need a perfect fit, just enough support to keep the silicone from deforming. Make sure you leave wide enough edges to clamp the two halves together. You could probably do this entire process without the bandages at all if you really felt like it. A thicker mix of plaster would make it pretty easy to scoop out and apply with your hand. I didn't do this, but I did patch some holes in the mold this way and it worked fine.

So on to the silicone. The white silicone seems to have worked beautifully. It is strong, flexible, and maintains shape quite well. It looks like I missed a few spots on the model with my release agent, as there was some minor sticking. This isn't a huge deal for what I'm doing, but it would be pretty disastrous for some projects. Make sure your release agent layer is very complete to avoid this. Also avoid touching any part of the mold with your bare hands after you've applied it. Turn the piece using the edge of the base if you need to. Short of the little sticky bits, everything looks great. I'll have a few rough patches on the candles to clean up, but I anticipate that they'll turn out well. I will take some pictures at least of the completed parts before, during, and after the pour. We just got a new camera and I think I can rely on myself to take every chance I can to play with it.

Thursday, January 28, 2010

More Sketchup Models

I'm using Sketchup a lot lately, and I figured I'd give you guys an idea of some of what it can do. You remember that bottle rack thing I was doing for Halloween that got scrapped? Well I decided to model it in Sketchup to see what it would look like in 3-d. Took my something like 1/10 the time to do in Sketchup that it did in a regular 2D paint program. The model isn't all done yet, but the remaining parts are little fiddly things like getting the turnbuckles to look perfect and all that.


Here are a few that show what I want to do with the fancy D20 candle.


Wednesday, January 27, 2010

Now for something completely different...

I found this blog yesterday: Knock-Off Wood

It's awesome. Very cool furniture made for much less than what it would cost to buy it from the store. So I decided to try my hand at designing something and came up with this:


This is a detail shot of the feet. The tops are the same thing, just reversed.


I'll probably keep playing with it, but this seemed like a pretty cool start. I'll actually add a headboard and footboard I'm sure. Still, I'm inspired to design furniture that I can then build. Designing using standard lumber dimensions is definitely key.

Thursday, January 21, 2010

Shopping Trip

I found a sculpture supply store in Denver last week and made the trip out there yesterday. It's a small place and it's in a bit of a skeevy-looking area, but they're an authorized distributor for Smooth-On products so it was worth a look. They're only open 10-5 M-F so it was tough to get up there before they closed, but I made it. I picked up my trial-sized pack of Oomoo 25 and brought it home. I haven't actually used it yet, but I'm pretty excited. I'm going to use it with the gothic sort of candle, I think. The more complex candles are probably very well-suited to the detail the Oomoo can capture, but I've also already got molds done for them. What I may do is wait until I get a successful candle out of the white-silicone mold I made before using the Oomoo. If the candle doesn't turn out like I want it to, I can just make the mold with the Oomoo and get the candle that way. The cheap way of making the mold would probably be perfect with the gothic mold, since it's so simple and smooth. We'll have to see how it all works out, but I think it'll be cool.

Wednesday, January 20, 2010

The White Stuff

The white silicone is really surprising me in several ways. First, it seems to be easier to put on large amounts of it and have it dry quickly. No idea what that's about. Second, it seems to be very flexible, but also pretty tough. We'll see how that pans out later. I've got the cut seam on there and drying today. I'm thinking I'll be pouring plaster into the mold to make the cast this time. Partly because I'm out of bandages and don't feel like buying or making more and partly because it'll be much easier to store that way. I'll be using a little 1-quart bucket as the mold for the plaster, so everything will fit inside of that. I will even endeavor to be able to use the lid on the thing. We'll see how that goes.

I'm also going to the store today to get the smooth-on Oomoo 30 trial pack. It's $25, but I think it's worth the expense to learn how to use this stuff and to see if it's worth it in terms of quality of the mold and time saved. I mocked up a quick model of the candle form I'll be using in Google Sketchup. That program is amazing.


Pretty cool, eh? I think it'll make a great candle. So I'm doing all that, maybe even tonight. Should be exciting!

Monday, January 18, 2010

Slacker!

So...I started the project and didn't take any pictures. Dang, I'm such a slacker!

Still, A few things have become apparent. First, the white silicone is fundamentally different from the clear. It's more runny and less sticky. I'm not sure how that will affect the final product, but it's worth noting. Also, painting the release onto the tile makes it an absolute breeze to remove the silicone. I just peeled up an edge to see how it looked and it came up without any problems at all. Woot. I'm putting on lots of layers of the white and I'm debating whether or not I want to intersperse the white layers with clear for structure and texture. Using the white is much nicer as far as seeing the voids and making sure everything is covered properly, but with the change in consistency I'm not sure how the final mold will turn out. I'm tempted to finish one using all white and see how it is.